

How DICOM Medical Imaging Becomes a 3D Printable STL Model
Medical 3D printing usually starts with imaging data.
For many medical models, that source data is a DICOM file set from CT, MRI, or another imaging system. The final printed model may be an STL file, but there are several important steps between the scan and the print.
The process is not simply “export DICOM to STL.”
A good model requires segmentation, cleanup, file preparation, and review before printing.
What Is DICOM?
DICOM stands for Digital Imaging and Communications in Medicine.
It is the standard file format used for many medical imaging systems. A CT or MRI scan is usually not one single 3D model. It is a series of image slices, often stored as many DICOM files.
Each slice contains imaging information. Software can stack those slices together to create a 3D volume.
From that volume, a specific structure can be selected and converted into a 3D model.
What Is STL?
STL is a common 3D printing file format.
An STL file describes the surface of a 3D object using a mesh made of triangles. Most 3D printers and slicing programs can work with STL files.
For medical printing, the STL is usually created after the anatomy has been isolated from the DICOM scan.
That means the STL is not the raw scan. It is a processed model created from the scan.
The Basic Workflow
The general workflow looks like this:
- Import the DICOM scan
- Review the imaging data
- Segment the anatomy of interest
- Generate a 3D surface model
- Clean and repair the mesh
- Export the model as STL
- Prepare the model for printing
- Print, finish, and review the part
Each step affects the quality of the final model.
A clean print starts with a clean digital model.
Step 1: Import the DICOM Scan
The process starts by loading the DICOM series into medical imaging or segmentation software.
The quality of the final model depends heavily on the original scan. Thin-slice CT data usually works better for bone models. MRI may be useful for some soft tissue applications, but the segmentation can be more involved.
Important scan factors include:
- Slice thickness
- Image resolution
- Contrast
- Motion artifacts
- Metal artifacts
- Field of view
- Tissue type being modeled
If the scan does not clearly show the anatomy, the printed model will have limitations.
Step 2: Segment the Anatomy
Segmentation is the process of selecting the anatomy that should become the 3D model.
For example, the goal may be to isolate:
- A skull
- A jaw
- A fractured bone
- A vertebra
- A tumor region
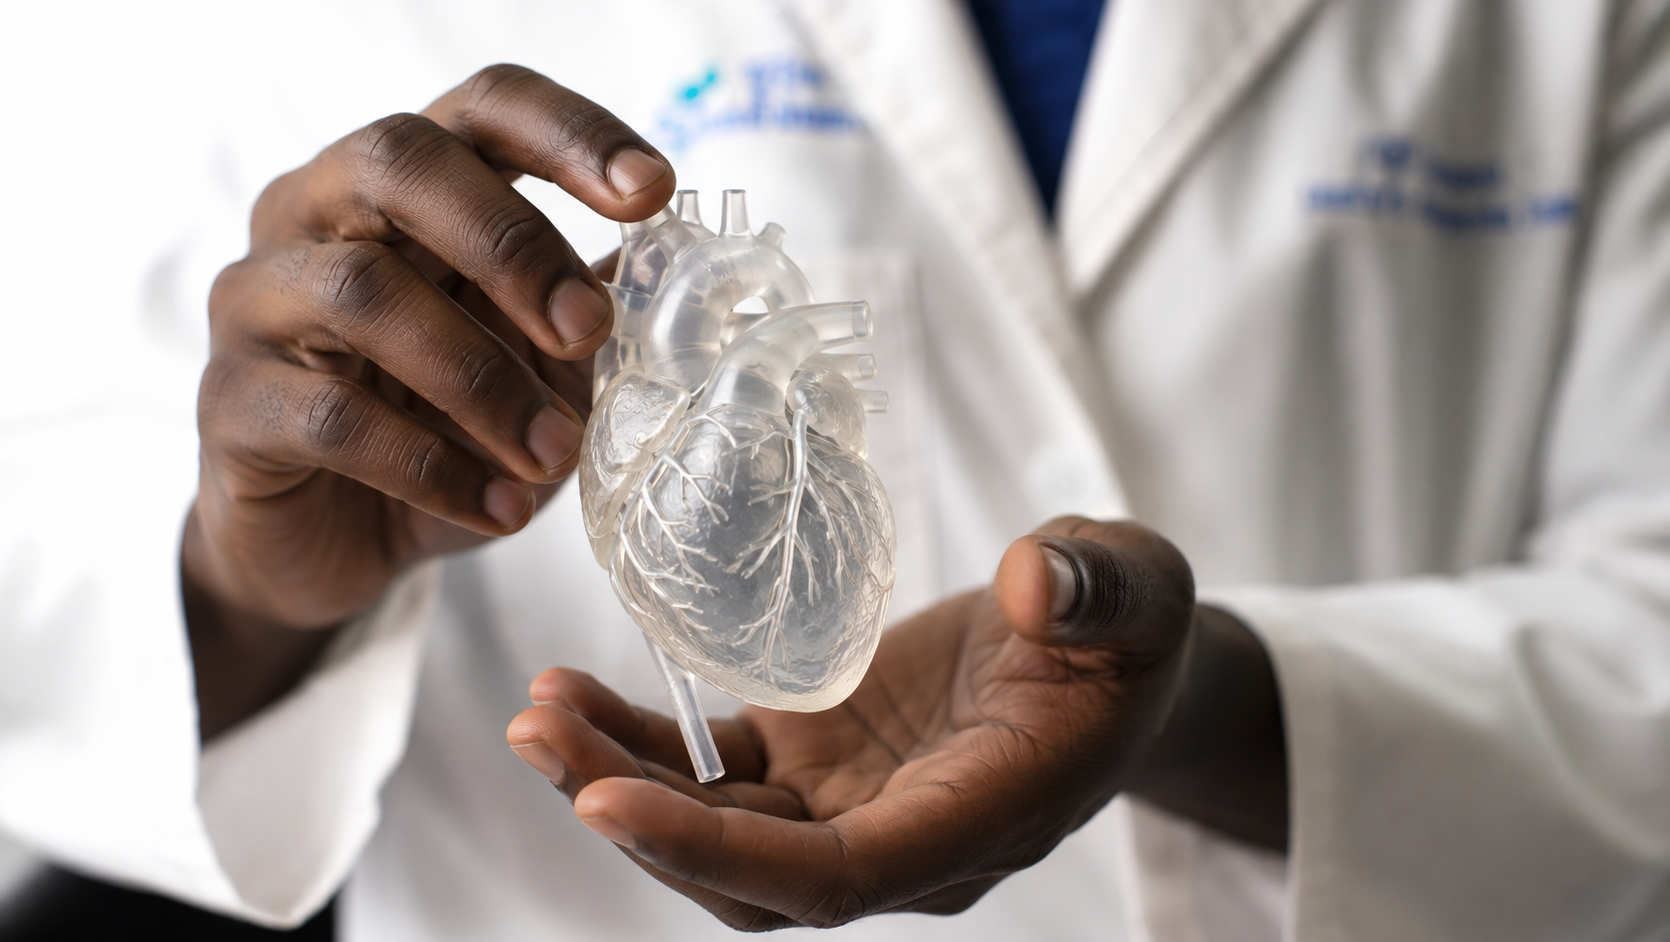
- A heart structure
- A vascular pathway
- A surgical area
- An implant location
Bone models are often easier to segment from CT data because bone has strong contrast. Soft tissue models may require more manual work, especially when boundaries are unclear.
Segmentation can involve thresholding, manual editing, region growing, smoothing, and slice-by-slice cleanup.
This is one of the most important parts of the process.
Step 3: Generate the 3D Model
After the anatomy is segmented, the software creates a 3D surface model from the selected region.
This model is usually a mesh.
At this stage, the model may still need work. It may include rough surfaces, small artifacts, disconnected fragments, holes, thin walls, or scan noise.
That does not mean the print process failed. It means the data needs to be prepared correctly before printing.
Step 4: Clean and Repair the Mesh
An STL file needs to be printable.
Medical scan data often produces models that are visually useful but not immediately ready for manufacturing. The mesh may need cleanup before it can be sliced and printed.
Common cleanup steps include:
- Removing floating fragments
- Closing holes
- Smoothing rough surfaces
- Reducing scan noise
- Thickening fragile features
- Splitting large models into sections
- Adding cut planes
- Creating support surfaces
- Hollowing the model if needed
- Repairing non-manifold geometry
This step should be done carefully.
Too little cleanup can make the model hard to print. Too much cleanup can remove important anatomical detail.
Step 5: Export to STL
Once the model has been segmented and cleaned, it can be exported as an STL file.
At this point, the STL becomes the working file for 3D printing. It can be opened in CAD software, mesh repair software, or slicer software depending on the next step.
The STL should be checked before printing.
Important checks include:
- Correct scale
- Correct orientation
- Complete geometry
- No major holes
- No unwanted fragments
- Adequate wall thickness
- Appropriate level of detail
- Correct anatomy included
- No critical anatomy accidentally removed
For medical or legal use, documentation should also track the source data, segmentation assumptions, and intended use of the model.
Step 6: Prepare the Model for Printing
The STL still has to be prepared for a specific print process.
A small high-detail model may be suited for resin printing. A larger bone model may be better suited for FDM. A handling model may need a tougher plastic. A display model may need painting, mounting, or labeling.
Print planning may include:
- Choosing the material
- Choosing the print process
- Setting layer height
- Adding supports
- Splitting the model into parts
- Adding alignment pins
- Planning post-processing
- Choosing color or finish
- Considering durability and handling
The right print settings depend on how the model will be used.
A classroom model does not need the same approach as a surgical planning model. A patient education model does not need the same approach as a legal exhibit.
Common Uses for DICOM-to-STL Models
DICOM-to-STL workflows can support several practical applications.
These include:
- Medical school teaching models
- Patient education models
- Surgical planning models
- Orthopedic fracture models
- Dental and maxillofacial models
- Veterinary anatomy models
- Legal and expert witness exhibits
- Implant planning models
- Research and device development models
The model should always be built for the specific use case.
A simplified model may be best for patient understanding. A more detailed model may be needed for surgical planning. A durable model may be best for classroom handling.
Accuracy and Responsibility
A 3D printed medical model should be treated as a processed representation of imaging data.
It is not the original scan. It is not a diagnosis. It is not a substitute for clinical review.
The final model depends on the source imaging, segmentation method, mesh processing, print process, and intended use. Any important medical, surgical, or legal use should involve qualified review by the appropriate professional.
For some applications, dimensional accuracy matters. For others, communication and visualization are the main goals. The project should define that early.
Practical Takeaway
Converting DICOM data to STL is a workflow, not a single button.
The important steps are segmentation, mesh cleanup, STL export, print preparation, and review. Each step affects the usefulness of the final model.
At JaegerTech, we help turn medical imaging data into practical physical models for training, patient education, surgical preparation, research, and legal support. We can review the source data, intended use, model requirements, material choice, and manufacturing approach before printing.
If you are evaluating a DICOM-to-STL medical model, JaegerTech can help determine what level of detail, accuracy, durability, and documentation is appropriate for the application.
About the Author: jaegertechgroup.com
STAY IN THE LOOP
Subscribe to our free newsletter.
Leave A Comment
3D Printed Medical Models for Training, Patient Education, Surgical Planning, and Legal Support Medical imaging is powerful, but it is still usually

Confidential Medical Device Prototype: Sensor Integration and Local Event Logging Helping a Research Team Move from Concept to Testable Hardware A research
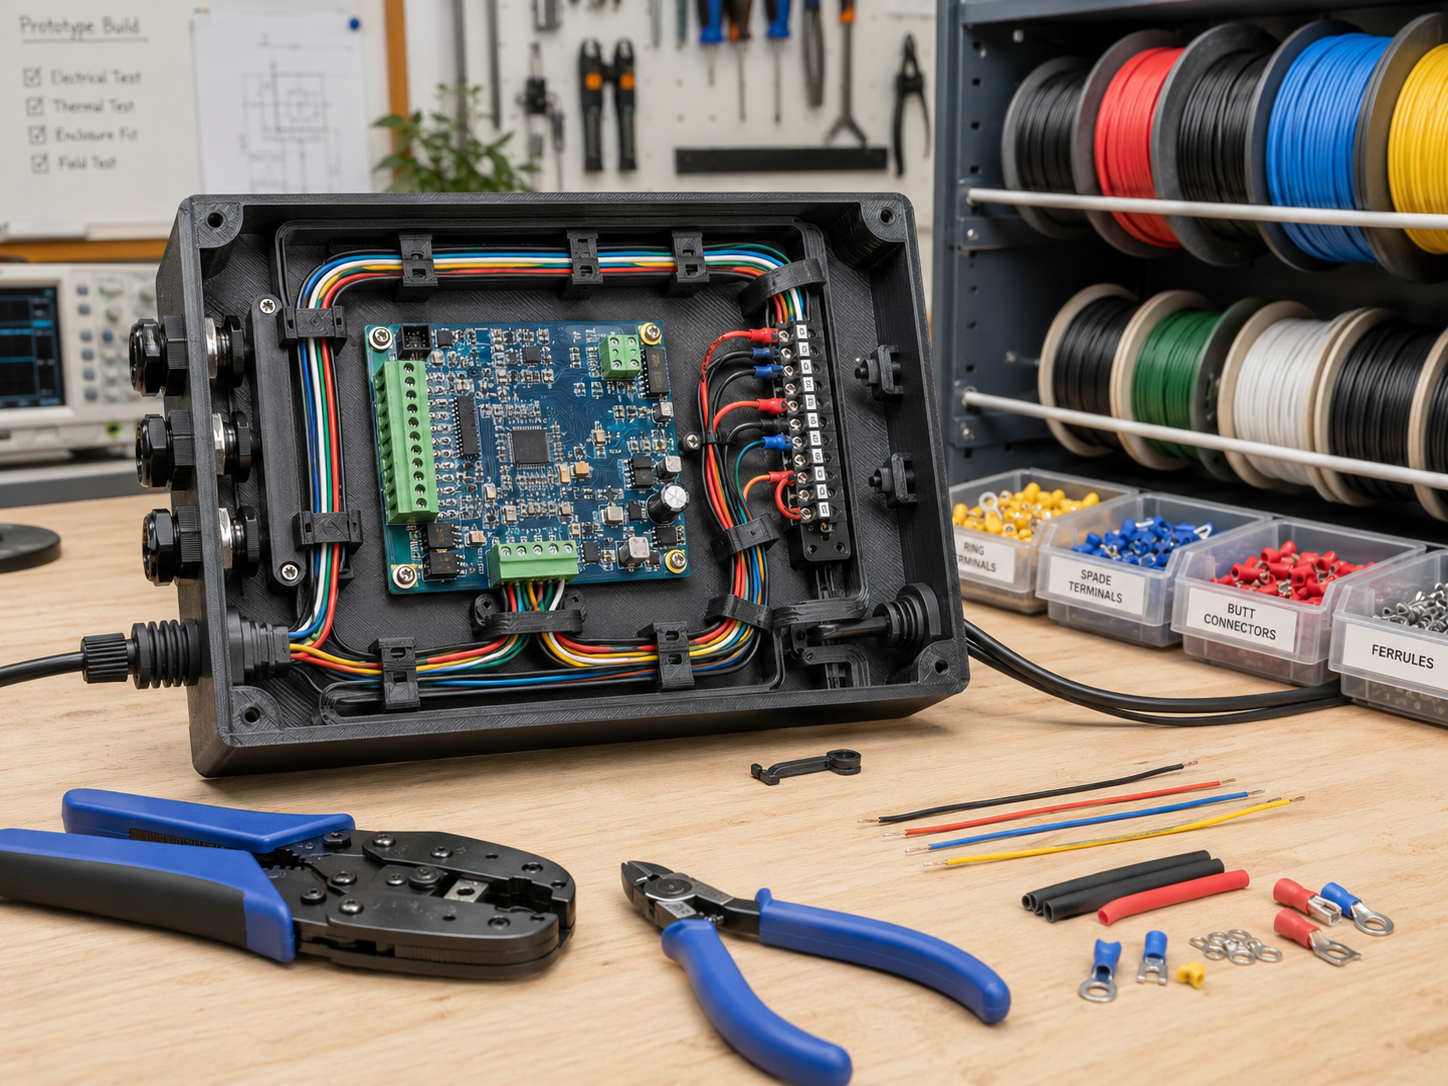
3D Printing and Wire Management in Product Development Wire management is one of the most overlooked parts of product design. A device
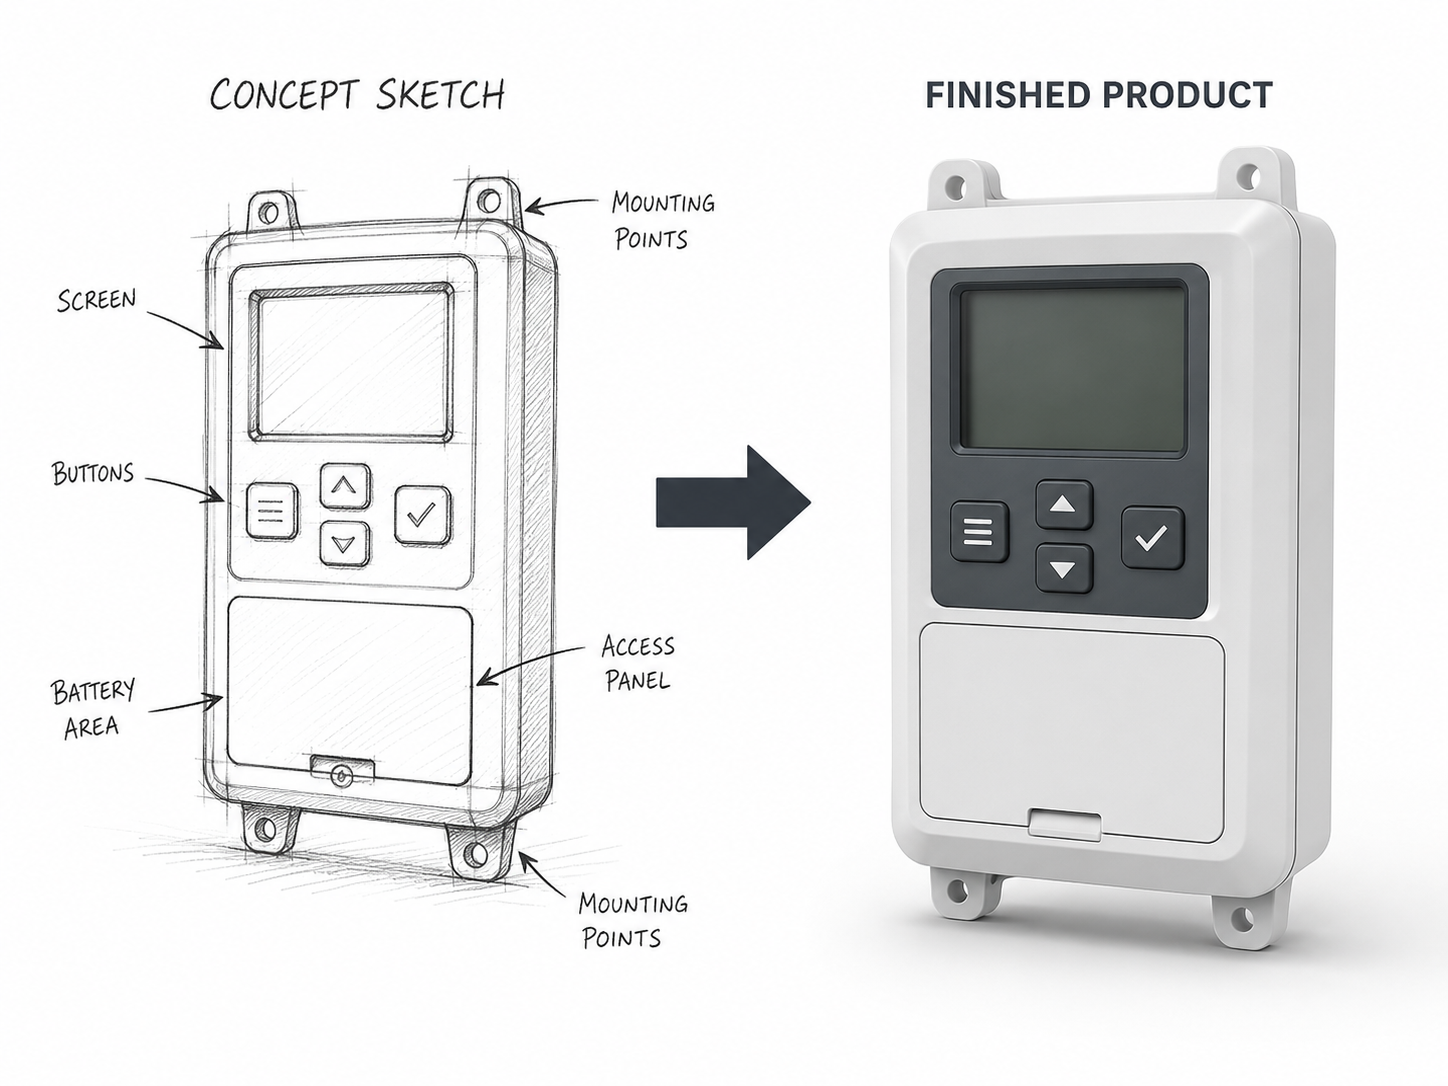
How 3D Printing Has Changed Enclosure Design Product enclosures are often treated as simple housings. In reality, the enclosure is usually one