
How Our Industrial 3D Printing Process Works
A good industrial 3D printing project starts before the first layer is printed. The most important work often happens in the review stage: understanding the application, choosing the right material, selecting the right process, and making sure the part is being made for the way it will actually be used.
At Jaeger Technology Group LLC, we support manufacturers, engineers, machine shops, foundries, product developers, universities, and industrial teams with industrial 3D printing, large-format additive manufacturing, prototypes, jigs, fixtures, inspection gauges, foundry patterns, machining support, DMLS/metal additive support, 3D printed casting patterns, and short-run production support.
Our goal is simple: help customers move from idea, drawing, CAD file, broken part, or production problem to a practical manufacturing solution.
Step 1: Send Us the File, Drawing, Photo, or Problem
Not every project starts with a perfect CAD model. Some customers send a full 3D file. Others send a drawing, photo, broken part, sketch, or description of a problem on the shop floor.
We can start with:
- CAD files
- STL, STEP, or other common 3D formats
- Technical drawings
- Photos
- Measurements
- Broken or obsolete parts
- Fixture problems
- Casting requirements
- Prototype concepts
- Production support needs
The better we understand the application, the better we can recommend a practical path.
Step 2: We Review the Application
Before quoting or producing a part, we want to understand what the part needs to do.
Important questions include:
- Is this a prototype, fixture, gauge, pattern, tool, or production part?
- Will it see load, heat, chemicals, UV, vibration, or wear?
- Does it need to be stiff or flexible?
- Does it need to protect a finished surface?
- Is it cosmetic, functional, or both?
- How accurate does it need to be?
- How many are needed?
- How quickly are they needed?
- Will the design change?
- Is the part regulated, safety-critical, or production-critical?
These questions help determine whether the part should be 3D printed, machined, cast, metal printed, or made using a hybrid process.
Step 3: We Recommend a Material and Process
3D printing is powerful, but it is not always the right answer. Some parts are better machined. Some are better cast. Some may need DMLS or another metal additive process. Some work best as a hybrid.
Depending on the project, we may recommend:
- Polymer 3D printing for prototypes, fixtures, gauges, and production aids
- Large-format 3D printing for oversized tools, patterns, molds, and prototypes
- Resin printing for detailed models or smaller parts where appropriate
- Machining support for precision parts, tooling, and fixture components
- DMLS/metal additive support for complex metal development parts
- 3D printed patterns for casting
- Hybrid manufacturing using more than one process
The goal is not to force every project into a printer. The goal is to choose a method that makes sense for the part, the schedule, the budget, and the use case.
Step 4: We Quote the Project
Once the application, material, process, and scope are clear, we prepare a quote.
A quote may consider:
- Part size
- Geometry
- Material
- Print time
- Machine requirements
- Setup work
- CAD preparation
- Sectioning and bonding
- Post-processing
- Finishing
- Quantity
- Schedule
- Tolerance requirements
- Outside process support if needed
For some projects, especially prototypes and development work, the quote may include assumptions. If those assumptions change, the scope may need to change as well.
Step 5: We Prepare the File or Geometry
Some files are ready to print. Others need preparation.
File preparation may include:
- Checking wall thickness
- Reviewing orientation
- Repairing mesh issues
- Splitting large parts into sections
- Adding alignment features
- Adjusting geometry for printability
- Adding draft or shrinkage for casting patterns
- Designing support features
- Modifying fixtures for inserts, pins, or fasteners
- Preparing for post-processing or finishing
This step can make the difference between a part that only looks good on screen and a part that works in the real world.
Step 6: We Produce the Part
Once the geometry, material, and process are approved, production begins.
Depending on the job, production may involve:
- FDM 3D printing
- Large-format 3D printing
- Resin printing
- Sectioned printing and bonding
- Machining support
- DMLS/metal additive support
- Casting pattern production
- Fixture assembly
- Insert installation
- Surface finishing
- Coating or sealing
- Inspection and cleanup
A simple prototype may only need printing and basic cleanup. A large pattern, fixture, or tooling project may require bonding, sanding, coating, inserts, reinforcement, or additional finishing.
Step 7: We Review and Deliver
Before delivery, we review the part against the intended use and project scope.
Depending on the project, review may include:
- Visual inspection
- Basic dimensional checks
- Fit review where practical
- Surface finish review
- Assembly check
- Insert and fastener check
- Section bonding review
- Packaging for delivery or shipment
For local and regional customers, working with a nearby partner can make review, discussion, revision, and delivery easier.
Step 8: We Revise When Needed
Prototypes, fixtures, patterns, and development tools often need iteration. That is normal.
A fixture may need a clearance change. A prototype may reveal an interference problem. A pattern may need a parting-line adjustment. A gauge may need to be easier for operators to use.
3D printing makes revision faster because changes can often be made without starting over with expensive hard tooling.
Common revisions include:
- Clearance adjustments
- Hole location changes
- Added ribs or stiffness
- Larger handles or ergonomic features
- Material changes
- Surface finish changes
- Sectioning changes
- Fixture alignment changes
- Added inserts, bushings, or fasteners
- Pattern draft or shrinkage adjustments
The first part often teaches the team something useful. That is part of the value.
What Makes a Project Easier to Quote?
A good request helps us respond faster and more accurately.
Helpful information includes:
- CAD file if available
- Drawing or dimensions
- Photos of the application
- Quantity needed
- Deadline
- Material preference, if any
- How the part will be used
- Temperature exposure
- Chemical exposure
- Outdoor or indoor use
- Load or force involved
- Whether it is cosmetic or functional
- Whether it touches a finished surface
- Tolerance requirements
- Whether the design is final or still changing
If you do not know all of those answers, that is fine. We can help identify the important questions.
What Types of Projects Are a Good Fit?
JaegerTech is a good fit for projects such as:
- Functional prototypes
- Large-format parts
- Jigs and fixtures
- Inspection gauges
- Foundry patterns
- Core boxes
- Production aids
- Soft jaws
- Masking fixtures
- Drill guides
- Product development parts
- Short-run production
- Replacement non-critical parts
- Packaging and handling trays
- Casting development tools
- Hybrid printed and machined tooling
We are especially interested in projects where practical manufacturing judgment matters.
What Types of Projects May Not Be a Good Fit?
Not every part is a good 3D printing candidate.
A project may need another process if it requires:
- Tight precision tolerances
- Certified material performance
- High structural loads
- High wear resistance
- High-temperature service
- Critical safety performance
- Regulated implantable or patient-contact use
- High-volume production economics
- A surface finish better achieved by machining or molding
In those cases, machining, casting, DMLS, injection molding, or another process may be the better path. We will tell you when 3D printing is not the right tool for the job.
Why Work With JaegerTech?
JaegerTech brings practical manufacturing experience to the process.
We bring:
- 30+ years of industrial and technical experience
- Additive manufacturing experience dating back to the early days of the industry
- Large-format 3D printing capability
- Practical material and process selection knowledge
- Foundry and patternmaking experience
- Jigs, fixtures, prototypes, and production support experience
- Machining, casting, and DMLS/metal additive support where appropriate
- Real-world problem solving, not just file printing
We understand that a useful part has to work in the real world — on the shop floor, at the bench, in the lab, in the foundry, in the inspection station, or in the hands of the operator.
Ready to Start a Project?
If your company needs a prototype, fixture, inspection gauge, foundry pattern, machined component, DMLS/metal additive support, casting pattern, large-format part, production aid, short-run component, or development tool, Jaeger Technology Group LLC can help evaluate the right path.
We support Decatur, Huntsville, Birmingham, North Alabama, the Southeast, and manufacturers across the broader industrial region.
Contact JaegerTech today to discuss your project, request a quote, or find out whether 3D printing, machining, DMLS, casting support, or another manufacturing process is the right path for your application.
About the Author: jaegertechgroup.com
STAY IN THE LOOP
Subscribe to our free newsletter.
Leave A Comment
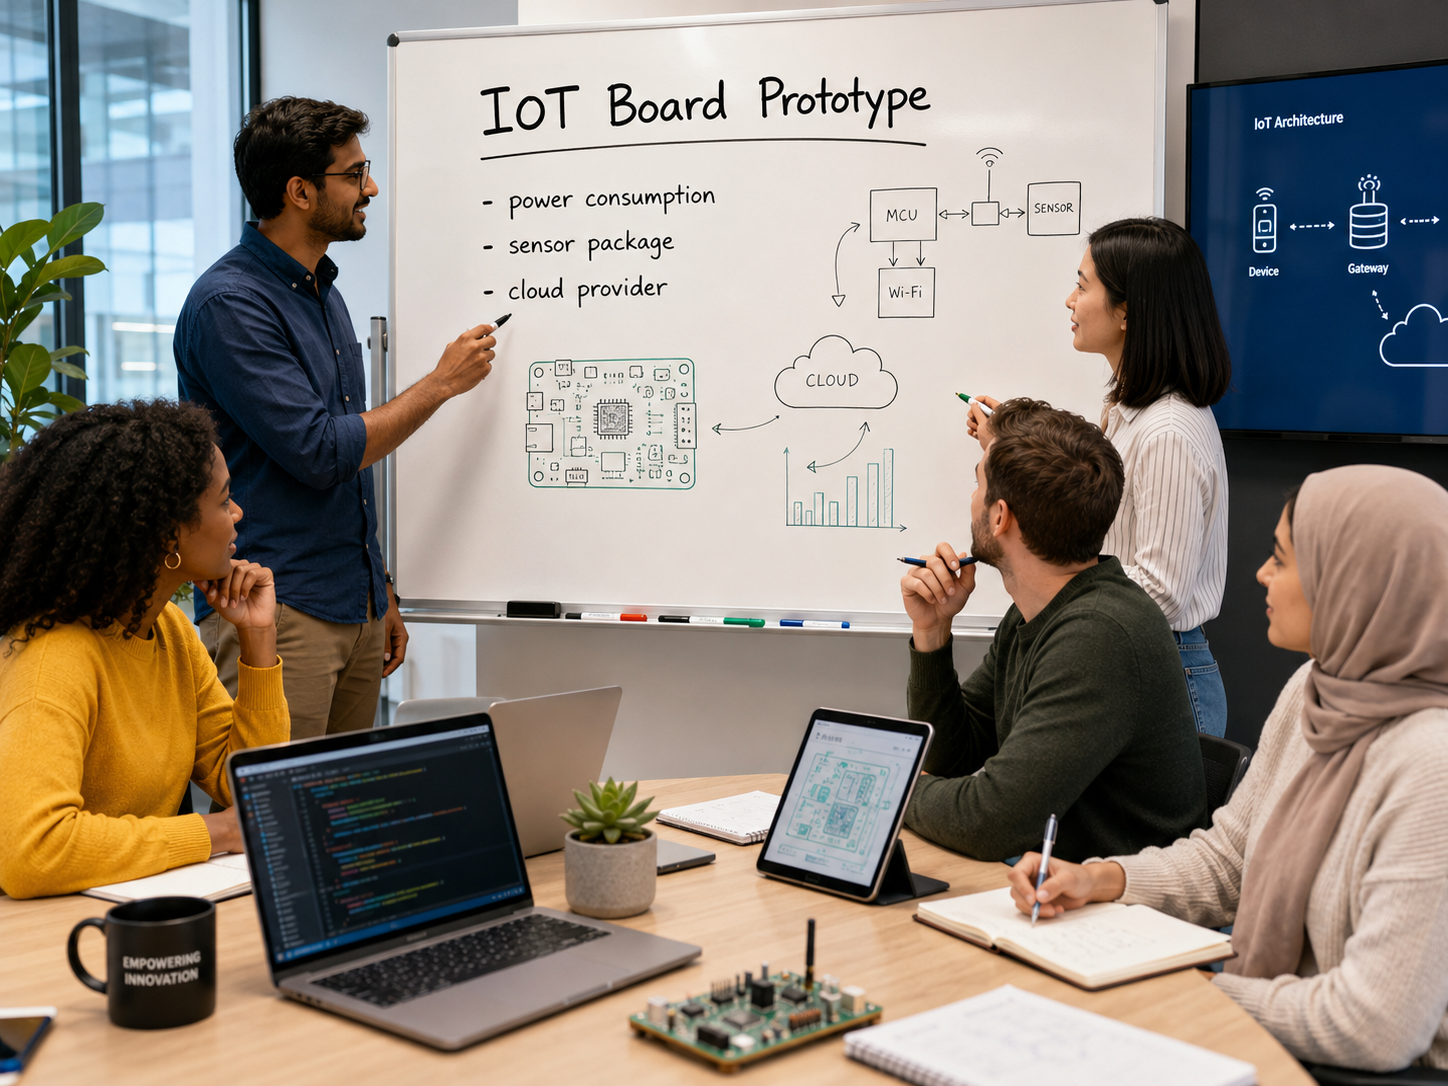
Using Development Boards in Early Hardware Prototypes Other Parts of this series: Part 2 – Choosing The Right Development Board Part 3
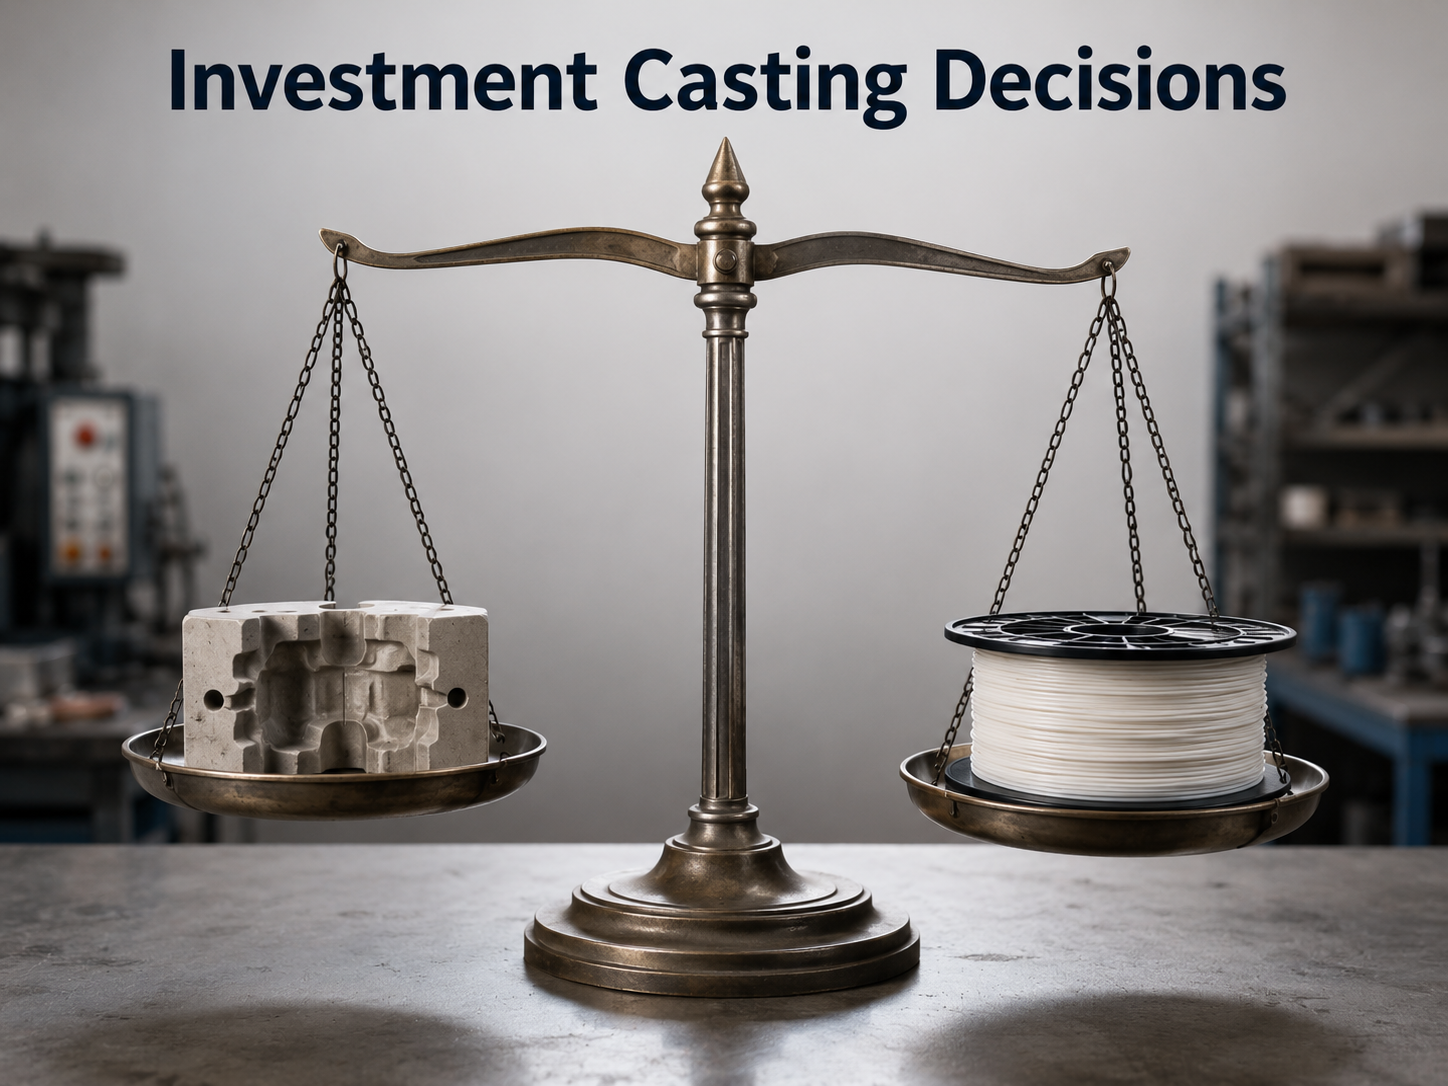
3D Printed Patterns for Investment Casting: Material, Support, and Ceramic Shell Considerations Investment casting has always depended on the quality of the
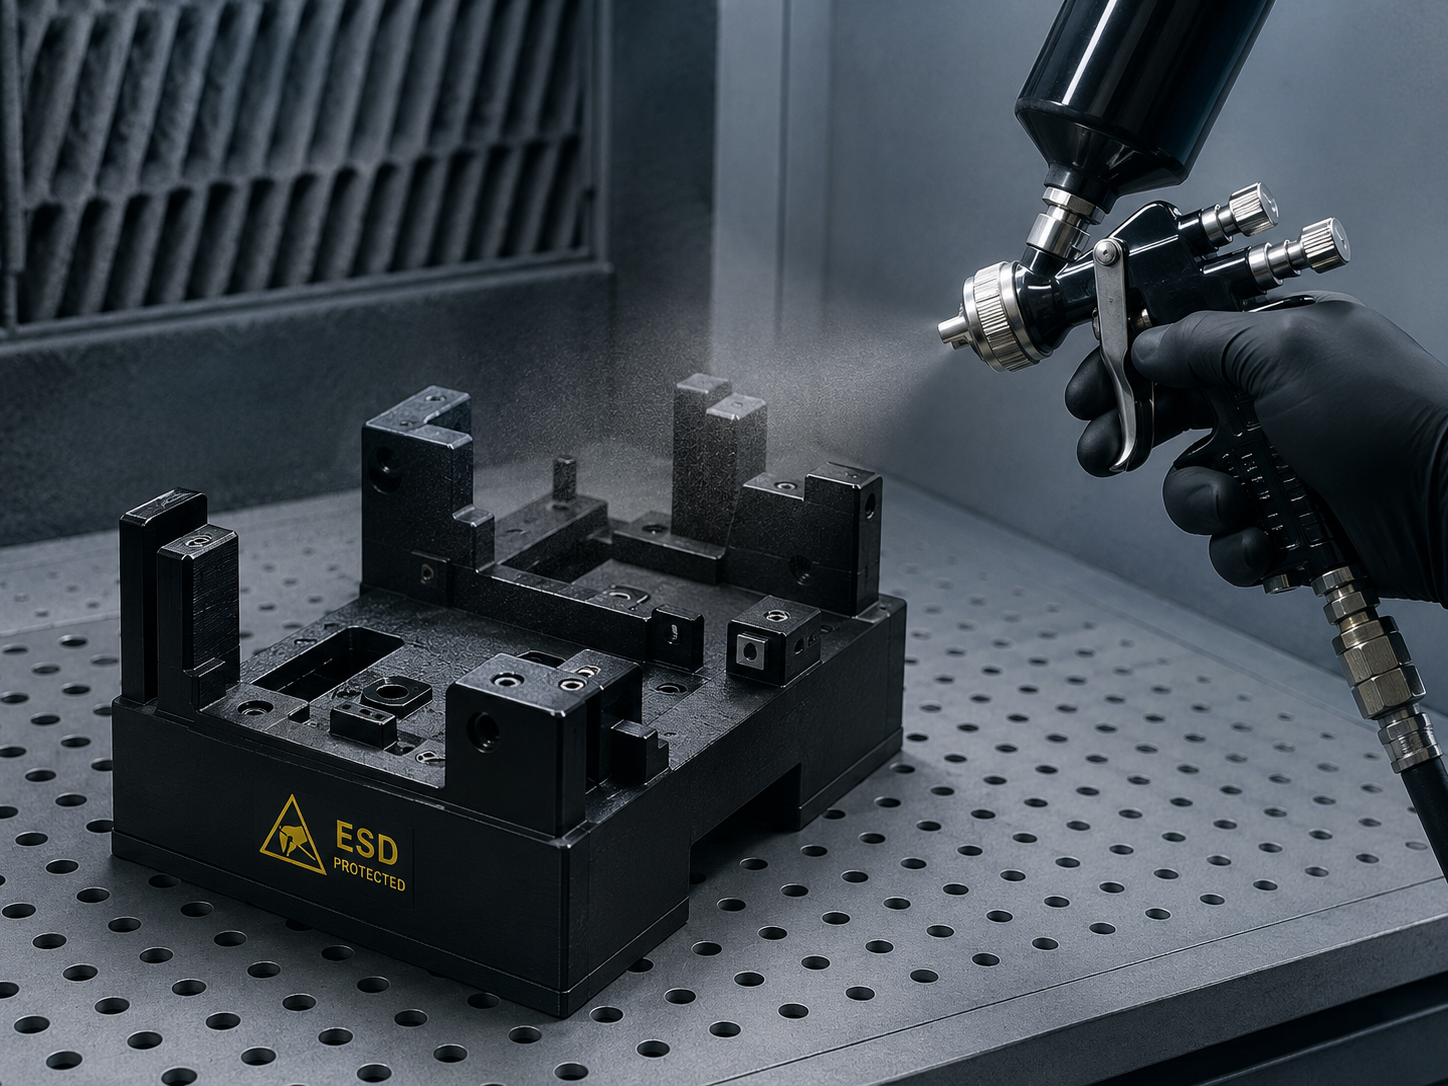
ESD-safe coatings can add static-dissipative behavior, helping reduce the risk of damage to printed parts used around electronics.
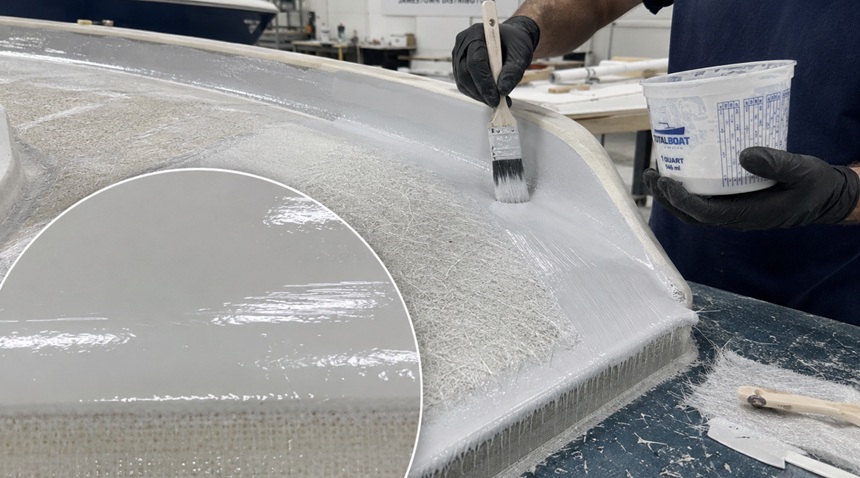
Gelcoat is common in composite and marine work. It can create a smooth, durable surface and is often used in mold-related workflows.