
Clear 3D Printed Parts: What Is Realistic and What Can Be Improved?
We were recently approached by a customer asking about clear 3D printed parts and how close they could get to true optical clarity. It is a common question, especially when a part needs to look like glass, acrylic, or molded polycarbonate. The honest answer is that clear 3D printing is possible, but expectations matter. A printed part can often be made translucent, semi-clear, or visually attractive, but getting to true glass-like clarity usually requires significant finishing work.
There are two main categories to think about: clear FDM filament parts and clear photopolymer resin parts. Both can produce transparent or translucent results, but neither process automatically creates a perfectly clear part right off the printer. Layer lines, internal voids, surface texture, support marks, print orientation, material choice, and post-processing all have a major effect on the final result.
With FDM printing, clear materials such as PETG, polycarbonate, PLA, and specialty transparent filaments can produce parts that allow light through. However, FDM parts are built from individual extruded beads of plastic. Each layer, each wall, and each internal interface can bend and scatter light. Even when the material itself is clear, the printed structure often appears frosted, cloudy, or milky. This is why many clear filament prints do not look like glass, even when the spool itself appears transparent.
Print settings can improve the result. In general, better clarity comes from reducing internal air gaps, improving layer bonding, using fewer internal interfaces, and printing in a way that minimizes light-scattering boundaries inside the part. Some users improve clarity by printing hotter, slower, with larger extrusion widths, thicker layers, high flow consistency, and very limited infill. The goal is to make the part behave less like a stack of many small plastic strands and more like a more uniform mass of plastic.
That said, FDM has real limits. If the part has multiple walls, infill, seams, trapped air, inconsistent extrusion, or poor layer fusion, the part may still scatter light internally. A vase-mode or solid, carefully tuned FDM part may look clearer than a normal structural print, but most FDM clear parts should be expected to look translucent rather than optically clear. This is especially true on thicker parts.
Post-processing is often where FDM parts improve the most. Sanding the surface progressively through finer grits can reduce layer lines and surface distortion. After sanding, a clear coat can help restore gloss and reduce surface haze. A clear epoxy coating can be even more effective because it fills layer lines, seals the surface, and creates a smoother optical skin over the printed part. This can make a part look much clearer and more polished, especially for display pieces, covers, lighting diffusers, cosmetic prototypes, visual models, or parts where light transmission matters more than true optical accuracy.
Clear coating and epoxy are useful, but they are not magic. They mostly improve the outer surface. If the inside of the print has air gaps, internal walls, bubbles, inconsistent extrusion, or cloudy material, the coating will not eliminate all internal distortion. For the best results, the design and print settings need to be planned around clarity from the beginning. A part designed like a normal structural FDM part will rarely become truly clear just because it is coated afterward.
Clear photopolymer resin printing can often produce better apparent clarity than FDM. SLA, MSLA, and DLP resin printers can create very fine layers and smoother surfaces, which helps reduce visible layer lines. Clear resins can be excellent for small visual prototypes, fluidic demonstration models, light pipes, display pieces, and parts where a glass-like appearance is desired. However, resin parts also usually need finishing. Support marks, uncured resin residue, surface texture, yellowing, and over-curing can all reduce clarity.
For clear resin parts, careful washing, controlled curing, wet sanding, polishing, and clear coating can dramatically improve the appearance. In favorable cases, especially with simple geometry and accessible surfaces, a clear resin part can be finished to look much closer to glass or acrylic. But this usually requires deliberate finishing work. Complex shapes, internal channels, support-heavy surfaces, trapped resin, thick sections, or inaccessible surfaces can still create haze, distortion, or color shift.
There is also a difference between a part that looks clear in a photograph and a part that is optically clear in a functional sense. A resin print may look glossy and transparent on the outside but still distort whatever is viewed through it. That may be acceptable for a cosmetic prototype or demonstration part, but it may not be acceptable for a lens, sight glass, inspection window, optical cover, or part that needs consistent light transmission.
The biggest practical point is that “clear,” “transparent,” and “optically clear” are not the same thing. A part can be clear enough to see light through it, clear enough to show internal features, or clear enough for a cosmetic prototype. That is very different from being suitable as a true lens, window, molded transparent production part, or optical component. If a part needs true optical performance, 3D printing may only be appropriate for early prototyping, tooling, or form studies. Final production may require machining acrylic or polycarbonate, casting, vacuum forming, injection molding, or another process designed for optical clarity.
Reasonable expectations depend on the process, geometry, and finishing budget. An unfinished FDM clear part should usually be expected to look translucent or frosted. A carefully printed and epoxy-coated FDM part can look much better, but still may not be optically clear through its full thickness. A clear resin part can often reach a higher cosmetic clarity, especially after sanding, polishing, and clear coating. True glass-like clarity is possible in some limited cases, but it generally requires simple geometry, accessible surfaces, high polish, careful finishing, and time.
For industrial prototypes, the best approach is usually to define the real requirement first. Does the part need to transmit light? Does someone need to see fluid inside it? Is it a cosmetic demonstration model? Does it need to look like a molded production part for a presentation? Or does it need actual optical performance? Those are very different goals, and they lead to different materials, processes, finishing steps, and budgets.
At JaegerTech, we often look at clear printed parts as a practical prototype solution, not a guaranteed replacement for glass, acrylic, or molded polycarbonate. Clear FDM filament, clear resin, sanding, polishing, clear coats, and epoxy coatings can all improve the result. But the best outcomes come from matching the process to the actual need and being realistic about what additive manufacturing can and cannot do without significant finishing work.
Clear 3D printed parts can be useful, attractive, and very effective for the right application. The key is understanding that clarity is not just a material choice. It is a combination of design, print process, surface finish, coating, geometry, and expectations.
Sources and Reference Notes
About the Author: jaegertechgroup.com
STAY IN THE LOOP
Subscribe to our free newsletter.
Leave A Comment

When a Small Sailboat Part Becomes a Big Problem Sometimes the most frustrating failures are not major mechanical breakdowns. They are small,
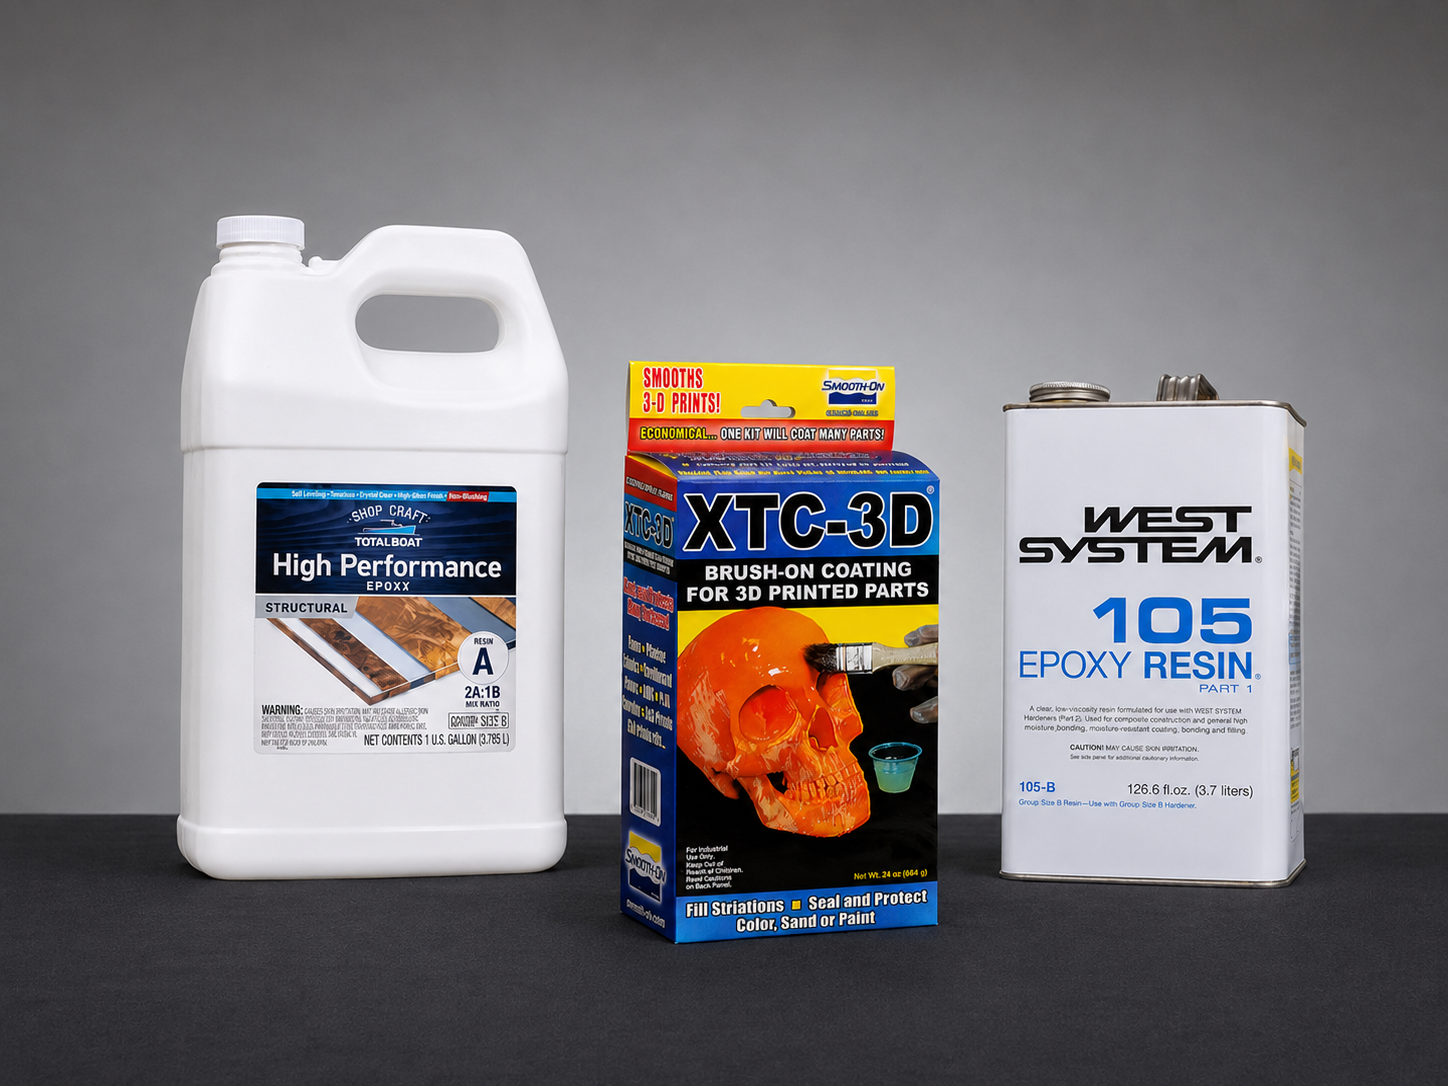
A coating system should be selected around the application requirements for long-term reliability.
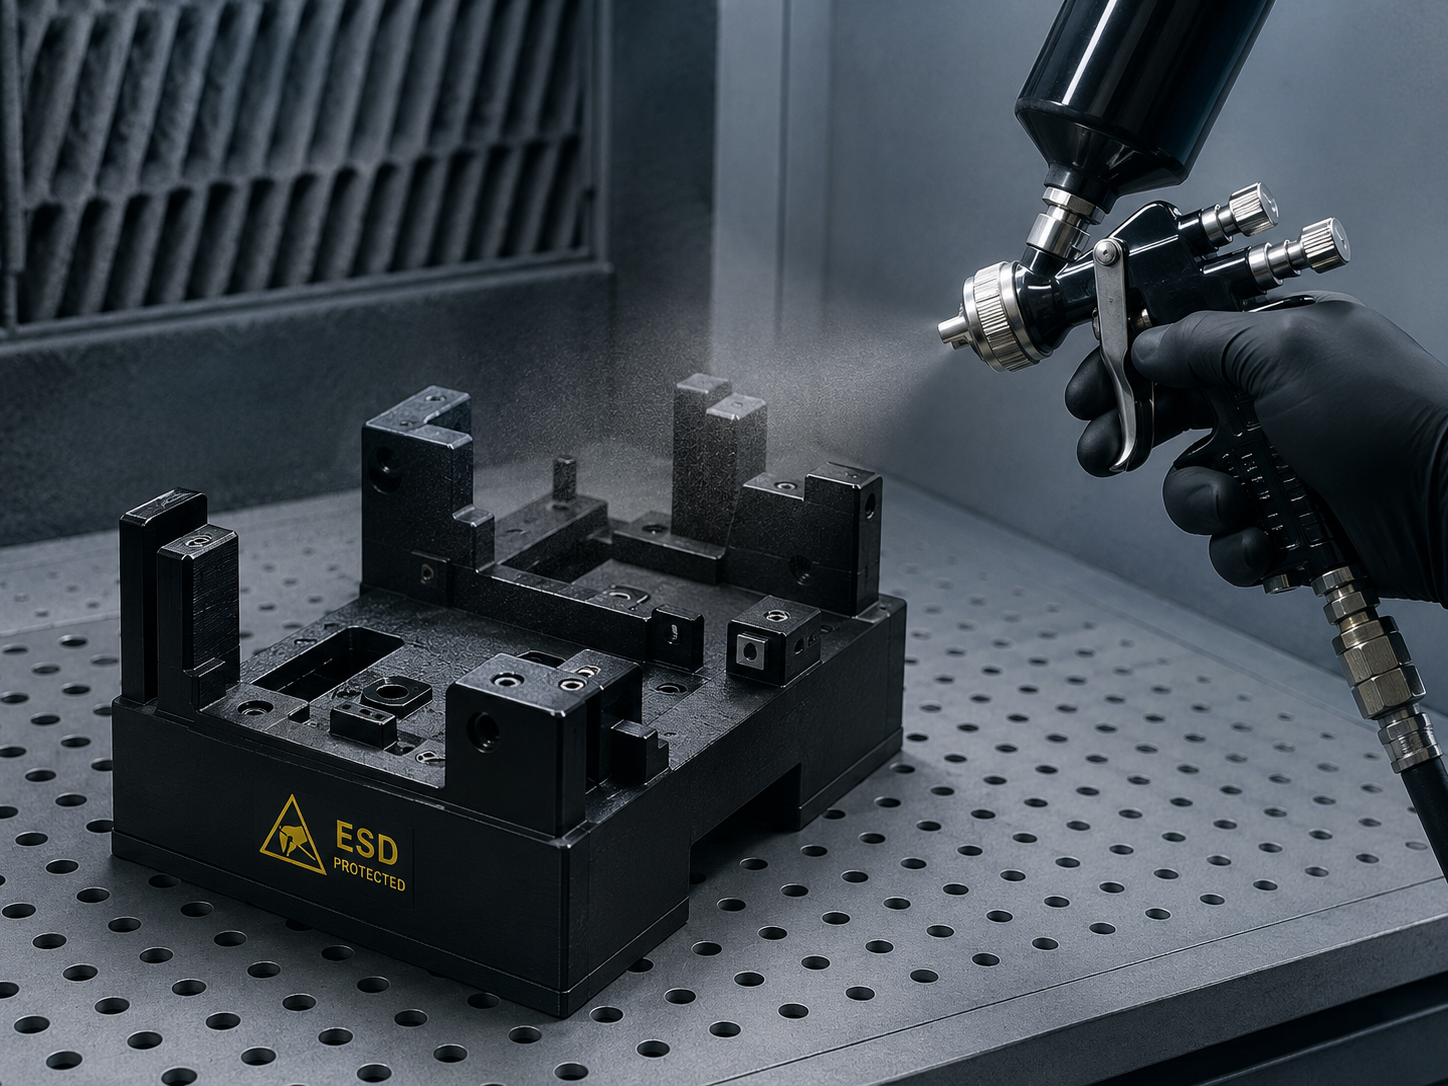
ESD-safe coatings can add static-dissipative behavior, helping reduce the risk of damage to printed parts used around electronics.
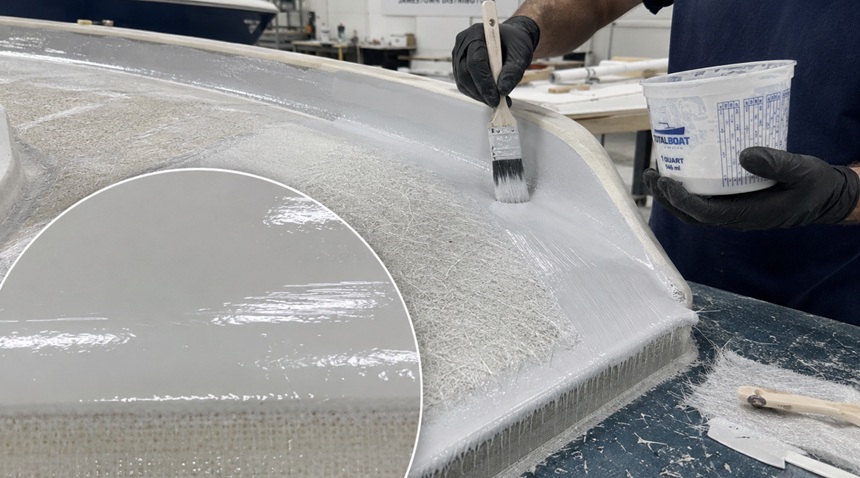
Gelcoat is common in composite and marine work. It can create a smooth, durable surface and is often used in mold-related workflows.