
From 3D Scan to Perfect Fit: The Corvette Bumper Project Moves Forward
A few weeks ago, we shared a project that demonstrated one of the most valuable uses of additive manufacturing: validating a custom automotive part before committing to the final manufacturing process.
The project involved a modified Corvette with flared bodywork. Because the body no longer matched the original factory dimensions, an off-the-shelf replacement bumper was not going to fit correctly. The original bumpers were also badly rusted and were not realistic candidates for reuse.
The solution started with 3D scanning.
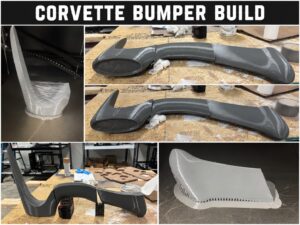
Using scan data from the car, the bumper geometry was recreated and modeled in SolidWorks. Before anyone invested substantial time and money into molds, composites, finishing, or chrome plating, we produced a physical 3D-printed version that could be used to verify the design against the actual car.
Our original post focused heavily on one idea:
The important part is validation.
Now we have the next chapter.
The Part Is in the Customer’s Hands
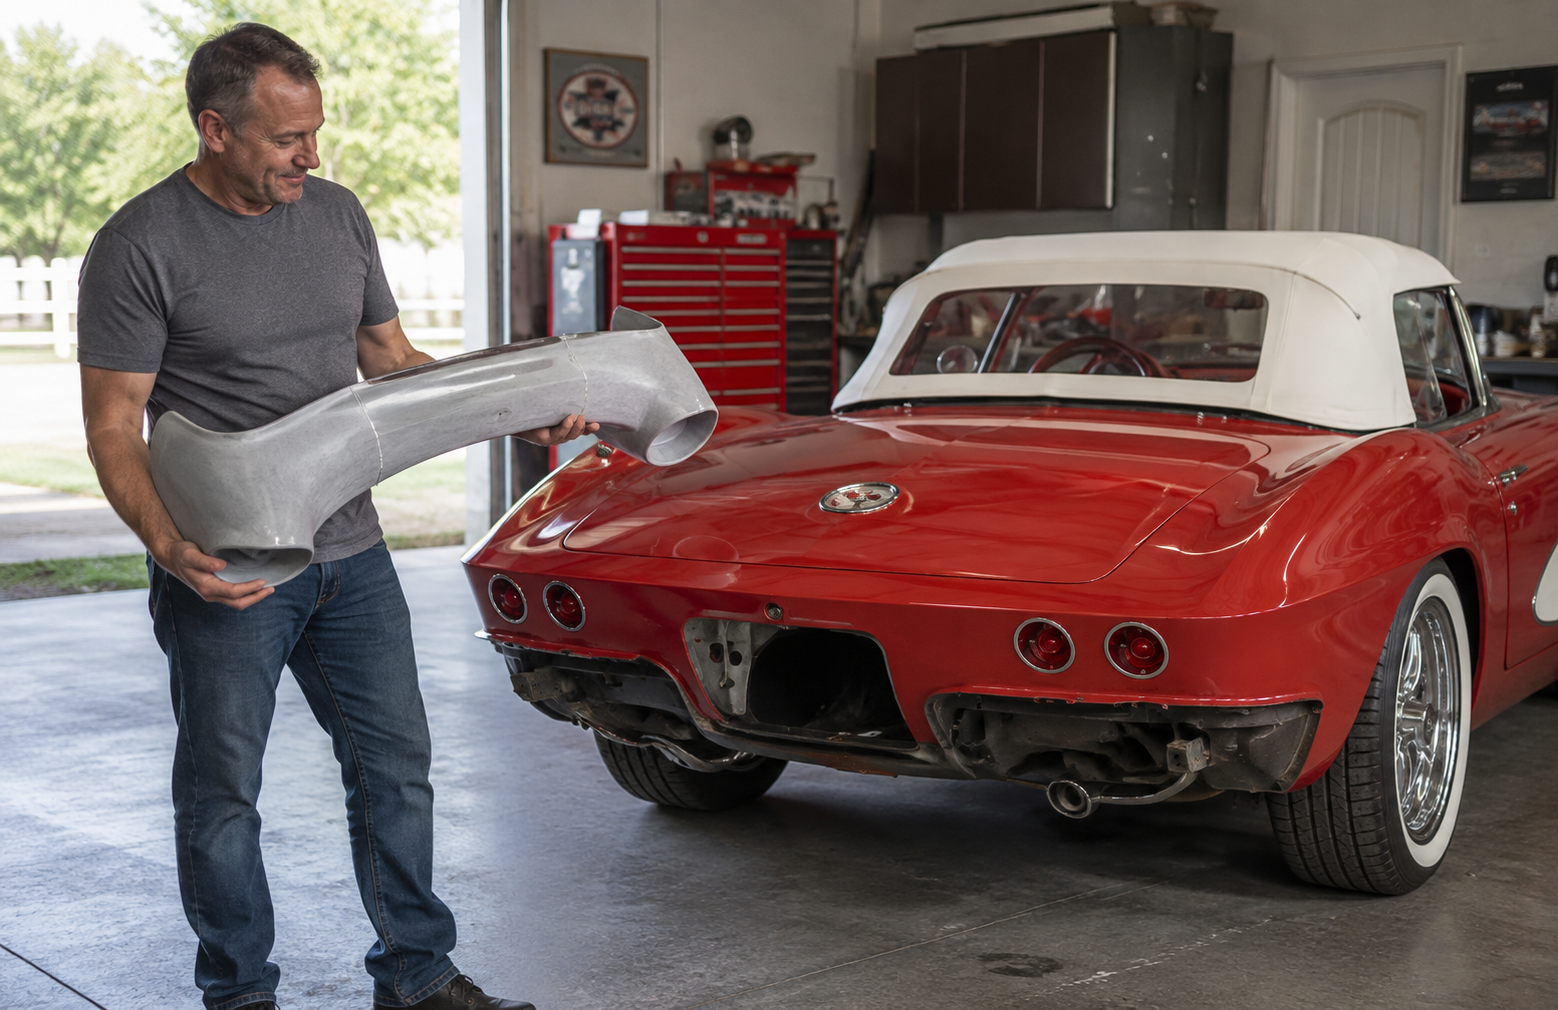
The customer has now received the full-size printed part and test-fitted it to the Corvette.
The result was exactly what we were hoping for: a near-perfect fit with very little additional work required.
There will be some normal finishing work, including sanding and a small amount of body filler to refine the surface. But importantly, there were no major dimensional surprises, no significant sections that needed to be redesigned, and no discovery that the part simply did not match the modified body.
That is a much bigger success than it might sound.
With custom automotive work, especially on a vehicle that has already been modified from its original geometry, a few millimeters in the wrong place can quickly turn into hours of cutting, filling, reshaping, and rework.
By combining 3D scanning, CAD modeling, and large-format 3D printing, we were able to move much of that uncertainty to the digital stage before the customer began the final fabrication process.
The Print Is Not the Final Bumper
This is also a good example of something that is sometimes misunderstood about industrial 3D printing.
The printed part does not necessarily have to be the final product.
In this case, the print is effectively becoming a full-size physical master for the next manufacturing step.
After sanding and minor Bondo work to achieve the desired final surface, the customer can use the printed geometry as the form for a composite layover. That composite can then become the finished bumper structure and be prepared for chrome plating.
In other words, the process looks something like this:
3D scan → CAD model → 3D printed master → surface finishing → composite layover → final finishing → chrome plating
Each manufacturing process is being used where it makes the most sense.
3D scanning captures the real geometry of the modified vehicle.
CAD allows the shape to be corrected and engineered digitally.
3D printing produces the complex full-size geometry without requiring traditional tooling.
Composite construction provides the final structure and surface needed for the finished bumper.
And chrome plating provides the appearance appropriate for the completed car.
That combination of modern and traditional manufacturing methods is often much more practical than trying to force one process to do everything.
A Little Sanding Is a Very Good Outcome
Nobody involved in custom bodywork expects a raw 3D print to come directly off the machine ready for chrome.
Sanding, filling, priming, and surface preparation are normal parts of producing a show-quality surface.
What matters is whether the underlying geometry is correct.
When the customer can put the part on the car and say that the fit is right, with only normal surface finishing required, the expensive part of the problem has already been solved.
There is a substantial difference between sanding a surface smooth and discovering that an entire corner of a custom bumper needs to move half an inch.
That is exactly why we put so much emphasis on validation in the first stage of this project.
From a Digital Model to Something You Can Hold
One of our favorite parts of this work is reaching the point where a project stops being something visible only on a computer screen.
A scan becomes a CAD model.
The CAD model becomes a physical object.
And then that object is placed against the actual vehicle and either proves the design or tells us what needs to change.
This time, it proved the design.
The customer now has the part in hand, the fit is where it needs to be, and the project can move confidently into composite fabrication and final finishing.
The original small-scale validation print earned the comment:
“Best $150 I’ve ever spent on this car.”
Seeing the full-size part fit the Corvette with so little additional work makes an even stronger case for why that validation step mattered.
Custom Parts Do Not Always Need Traditional Tooling
This project is also a useful example for anyone restoring, modifying, or reproducing difficult automotive components.
If the original part is damaged, unavailable, modified beyond recognition, or simply does not fit the vehicle anymore, it does not necessarily mean the project has reached a dead end.
With the right combination of 3D scanning, reverse engineering, CAD design, large-format additive manufacturing, composites, and conventional finishing, entirely new tooling and components can be produced around the actual vehicle rather than around assumptions about what the vehicle is supposed to look like.
At Jaeger Technology Group, that is exactly the kind of problem we enjoy solving.
Turn a Difficult Part Into a Manufacturable Solution
Have a restoration, custom vehicle, or obsolete part that you cannot simply order?
Send us a few photos and tell us what you are trying to accomplish. You do not need to have a CAD file or know which manufacturing process you need. We can help determine the best approach.
Jaeger Technology Group can combine 3D scanning, reverse engineering, CAD design, large-format 3D printing, prototyping, tooling, and conventional manufacturing processes to take a difficult part from an idea or damaged original to something you can actually put in your hands and test.
Whether you need a one-off replacement, a full-size master for composite tooling, a prototype before investing in final production, or help determining how a difficult part should be manufactured, we would be happy to look at the project.
Contact Jaeger Technology Group today and send us your difficult part. Sometimes the first step toward making the final part is simply making the right shape.
About the Author: jaegertechgroup.com

STAY IN THE LOOP
Subscribe to our free newsletter.
Leave A Comment
Designing Drone Parts for Vibration, Impact, and Real-World Flight Loads A drone part can look perfect on the bench and still fail
Beyond ESP32 and Raspberry Pi: Designing Electronics for Real Products Development boards are one of the best tools available for product development.
From MVP to Market: How Consumer Electronics Become Real Products A working MVP is an important milestone. It proves that the idea
Designing Products for Serviceability, Maintenance, and Field Repair A product can work perfectly on the day it is delivered and still be
have a 2014 Camaro SS and want a custom front bumper cover and side skirts. I don’t have print-ready CAD files. Can you scan the car, design the parts, print a full-size test fit, and quote the finished parts? Please tell me which pieces would print whole versus in sections, what material you recommend for exterior use, and what work is included before paint.
Hi Mike. Looks like you are in the Northeast by your IP Address. We’re in Alabama. Not likely we’re going to be able to get out there, but let’s see how we can help you. Give us a call or email. We’ve sent an email to your gmail.