

Choosing Sensor Packages for Hardware Prototypes: Measuring the Right Thing Before Building the Product
Putting Hardware Into Your Prototype: Part 3 of a Five-Part Series
In the first two articles in this series, we discussed using development boards in early hardware prototypes and choosing between controller platforms such as Arduino-compatible boards, ESP32 devices, Raspberry Pi computers, STM32 development boards, and other embedded platforms.
Once a project has a reasonable electronics architecture, the next question is often more important than the board selection itself:
What does the prototype actually need to measure?
Many hardware concepts become more valuable when sensors are added. A product may need to detect position, movement, touch, pressure, force, temperature, airflow, vibration, sound, light, distance, environmental conditions, equipment status, or visual defects.
However, adding sensors is not automatically the same as adding useful capability.
A prototype becomes more credible when its sensors are selected around a defined development question:
- Did the user operate the device correctly?
- Did the mechanism apply the intended force?
- Is a motor or bearing vibrating outside its normal range?
- Does airflow change when the geometry changes?
- Is an industrial process staying within a required condition?
- Can the product collect information accurately enough to support further development?
The value of a sensor is not simply that it produces data. The value is that it produces the right data, with enough reliability and context to support the next engineering or business decision.
Start With the Question the Prototype Must Answer
Before selecting a sensor, the development team should identify what the prototype is intended to prove.
This sounds obvious, but it is common for product teams to begin by listing every sensor that might be useful. That can quickly create a prototype that is expensive, difficult to debug, and unclear in purpose.
A better starting point is to ask:
- What physical behavior are we trying to observe?
- What result would demonstrate that the product concept is working?
- What result would indicate that a design change is needed?
- Does the prototype need to detect an event, measure a value, or monitor behavior over time?
- How accurate and repeatable must the measurement be?
- Will the data be used only for internal learning, or will it support research, customer evaluation, product claims, or safety-related decisions?
For example, a device may only need to detect whether a user has made contact with a surface. Another product may need to measure exactly how much force is applied, how long that force lasts, and whether the force profile changes between users or designs.
Those are very different sensing requirements.
Selecting sensors before defining the required information often leads to wasted development effort. Selecting sensors after defining the test objective makes the prototype easier to build, easier to evaluate, and easier to explain.
Sensor Element, Sensor Module, or Complete Sensor Package?
The term “sensor” can refer to several different things.
A sensor element may be the basic component that responds to pressure, temperature, light, strain, motion, or another physical condition.
A sensor module may include that sensing element along with supporting electronics, signal conditioning, analog-to-digital conversion, communication hardware, and a small circuit board.
A more complete sensor package may also include:
- Connectors or cabling
- Protective housing
- Mechanical mounting features
- Calibration information
- Environmental protection
- Firmware or software support
- A defined communication interface
- Replaceable or serviceable packaging
For early prototype development, the theoretically best sensor element is not always the most practical choice.
A bare sensor may offer excellent specifications, but it may also require custom amplification, filtering, calibration, connector design, and specialized mounting before it produces usable information.
A documented sensor module or packaged sensor may be slightly larger or more expensive, but it may allow the team to begin testing much sooner. In an early prototype, obtaining useful, repeatable measurements is often more valuable than optimizing every component for eventual production cost.
Later in development, the team may replace a convenient prototype sensor module with a smaller, more integrated, or more production-appropriate sensor configuration. That transition is normal.
Is the Sensor Detecting an Event or Measuring a Value?
One of the simplest ways to define sensor requirements is to determine whether the prototype must detect an event or measure a variable value.
Detecting an Event
Some prototypes only need to know whether something happened.
Examples include:
- Did the user press a button?
- Did a door close?
- Did a mechanism reach its end of travel?
- Did a user touch the device?
- Did a product pass a particular location?
- Is an object present or absent?
- Has a safety interlock been activated?
These functions may be handled by relatively simple digital sensors or switches. The resulting signal may be essentially yes/no, open/closed, present/absent, or triggered/not triggered.
Event detection can be extremely valuable. A simple sensor that reliably confirms an important action may provide more useful information than a complex measurement system that is difficult to interpret.
Measuring a Value
Other prototypes need to know not only whether something occurred, but how much, how fast, how long, or how frequently it occurred.
Examples include:
- How much force was applied?
- What pressure was reached?
- What was the temperature during operation?
- How much vibration occurred?
- What was the orientation of the device?
- How much airflow moved through a passage?
- How far was a component displaced?
- How did the measurement change over time?
These questions usually require sensors that provide variable measurements, often combined with data logging, calibration, timestamps, filtering, and later analysis.
A development team should be careful not to treat these two categories as the same task. Detecting that contact occurred may be easy. Measuring the quality, duration, location, and repeatability of that contact may require an entirely different sensor system.
Common Sensor Categories in Prototype Development
There are many types of sensors available, but most prototype projects begin with a manageable group of measurement needs.
| Measurement Need | Typical Sensor Category | Example Prototype Question |
|---|---|---|
| Motion, tilt, or vibration | Accelerometer, gyroscope, or inertial measurement unit | Was the device moved or oriented correctly? |
| Force or applied load | Load cell, strain-based sensor, or force sensor | How much force was applied during operation? |
| Pressure or airflow | Pressure transducer, differential pressure sensor, or flow sensor | Is the device generating or experiencing the expected pressure or flow? |
| Temperature or humidity | Environmental sensor, thermistor, or thermocouple interface | Does operation or environment affect performance? |
| Distance, level, or proximity | Optical, ultrasonic, time-of-flight, or proximity sensor | Is the component, user, or material in the correct position? |
| Touch or contact | Capacitive-touch sensor, force sensor, or contact switch | Is the user contacting the intended area? |
| Sound or vibration signature | Microphone, acoustic sensor, or accelerometer | Can an operating condition be identified by sound or vibration? |
| Visual condition or inspection | Camera, depth sensor, or machine-vision system | Can the product recognize a defect, object, or operating state visually? |
| Equipment or process status | Encoder, current sensor, industrial transmitter, or bus-connected sensor | Can a machine or process be monitored reliably? |
This list is not intended to specify which exact sensor a project should use. It illustrates the more important point: the sensor category should follow the measurement question.
How Sensor Selection Affects Development-Board Selection
The development board and the sensor package should not be selected independently. The type of sensor output determines what the controller or computing platform must be able to support.
| Sensor Output or Interface | Board Requirement | Practical Prototype Implication |
|---|---|---|
| Simple digital signal | Digital input capability | Appropriate for switches, contact detection, and simple presence sensing |
| Analog voltage or resistance change | Analog input or external converter | Accuracy, noise, filtering, and calibration become important |
| I²C digital sensor | Compatible digital communications bus | Common for small motion and environmental sensor modules |
| SPI digital sensor | Faster dedicated communications bus | Useful for higher-rate sensor communication or multiple peripherals |
| Serial or UART module | Available serial interface | Common for specialized modules and certain external devices |
| RS-485 or Modbus industrial sensor | Interface or transceiver hardware | Useful for longer cable runs and industrial environments |
| CAN bus device | CAN-capable hardware or interface | Relevant in vehicles, mobile equipment, robotics, and machinery |
| Wireless remote sensor | Wireless board or gateway strategy | Adds battery, range, security, and connectivity questions |
| Camera or imaging sensor | Computer-level processing capability | Often points toward Raspberry Pi, Jetson, or similar platforms |
A simple contact switch may work with nearly any microcontroller. A group of precision force sensors may require more careful analog conversion and signal conditioning than a basic development board provides. A camera-based inspection system may immediately require a Linux computer or edge-computing platform rather than a simple controller.
This is why board selection should be revisited once the sensing requirements are defined. The controller may be perfectly capable of running the software concept while still being poorly suited to the actual measurement hardware.
Analog Sensors Require Special Attention
Digital sensors and switches can be straightforward because their outputs often indicate a clearly defined condition. Analog measurements can require much more care.
An analog sensor may produce a varying voltage, resistance, or electrical signal corresponding to force, pressure, temperature, position, strain, airflow, or another physical measurement.
The challenge is that the signal must be converted into a meaningful value.
Important considerations may include:
- Measurement range
- Required resolution
- Electrical noise
- Signal conditioning
- Amplification
- Analog-to-digital conversion
- Sampling rate
- Sensor drift
- Temperature effects
- Calibration method
- Mechanical mounting
- Repeatability between test units
A board may technically have an analog input, but that does not necessarily mean it is suitable for precise measurements.
For an early proof of concept, a basic analog reading may be sufficient to show that the underlying behavior exists. For comparison testing, engineering evaluation, university research, industrial monitoring, or medically adjacent development, a more controlled measurement approach may be necessary.
A prototype that displays numbers is not automatically a measurement system. The numbers only become useful when the team understands what they represent, how repeatable they are, and whether they are sufficiently accurate for the intended decision.
Accuracy, Repeatability, and Calibration Depend on the Prototype Goal
Not every prototype requires laboratory-grade measurement. However, every project should know what level of measurement credibility it requires.
| Prototype Goal | Appropriate Sensor Expectation |
|---|---|
| Demonstrate a basic concept | Sensor responds reliably enough to show that the function is possible |
| Compare two designs or operating conditions | Measurements should be reasonably repeatable under controlled test conditions |
| Collect engineering-development data | Measurement method, sampling, mounting, and calibration should be documented |
| Support research, customer claims, safety decisions, or regulated development | Accuracy, traceability, calibration, documentation, and data integrity become critical |
This distinction can prevent two common mistakes.
The first mistake is spending far too much money on a measurement system before the basic product concept has been proven.
The second mistake is treating early prototype data as more authoritative than it really is.
A sensor-enabled MVP may be designed to answer a narrow feasibility question. That can be highly valuable. It should not automatically be presented as a validated instrument or final product test system.
Where Will the Sensor Be Located?
Sensor selection is not only an electronics question. It is also a mechanical-design and packaging question.
A sensor must be located where it can measure the intended physical condition without creating misleading data or interfering with the product.
The team should consider:
- Will the sensor be inside the main product enclosure?
- Will it contact a user, material, fluid, gas stream, moving component, or machine surface?
- Will the enclosure block, alter, or distort the measurement?
- Will wiring interfere with movement or user handling?
- Will the sensor experience vibration, bending, shock, moisture, heat, dust, cleaning chemicals, or repeated impact?
- Does the sensor need to be replaceable?
- Does its position need to remain fixed between tests?
- Does the mounting geometry need to be 3D printed as part of the prototype?
A motion sensor mounted loosely inside an enclosure may report movement that comes from vibration of the mount rather than movement of the product. A force sensor placed in the wrong load path may provide data that looks precise but does not measure the actual operating condition. A temperature sensor isolated from the intended surface may report enclosure temperature rather than process temperature.
The sensor package, mounting method, enclosure, wiring path, and test procedure all contribute to data quality.
This is one reason physical prototype development and electronics integration should be planned together rather than handled as separate tasks.
Onboard Sensors Versus Remote Sensors
Some sensors are mounted directly on or inside the product. Others may need to be physically separated from the controller.
Onboard Sensors
Onboard sensors may be appropriate for:
- Handheld products
- Wearable concepts
- Portable monitoring devices
- Compact laboratory tools
- Devices where motion, touch, orientation, or environmental conditions are measured at the product itself
Advantages may include reduced wiring, compact packaging, easier portability, and fewer external connections.
However, onboard sensors may also be exposed to heat from electronics, enclosure vibration, limited space, or interference from the user or device structure.
Remote Sensors
Remote sensors may be appropriate when:
- Measurements occur away from the main controller
- The sensing point is inside machinery or equipment
- The measurement location is wet, hot, dirty, hazardous, or otherwise harsh
- Multiple locations must be monitored
- The sensor must be installed on a moving assembly
- The electronics need protection away from the measurement point
- An industrial sensor already exists with a durable housing and cable
Remote sensing can introduce additional development considerations:
- Cable length
- Connector durability
- Electrical noise
- Signal loss
- Wireless range
- Battery requirements for remote nodes
- Environmental sealing
- Sensor replacement
- Calibration and identification of each sensor
- Detection of damaged or disconnected sensors
For a clean benchtop prototype, these issues may seem minor. For a device expected to operate in the field, in a shop, on equipment, or outdoors, they may become central to whether the product works reliably.
Sensor Arrays: More Data Is Not Automatically Better
It is easy for a prototype project to accumulate sensors.
A team may begin with one sensor, then decide to add temperature, vibration, orientation, pressure, touch, location, sound, and wireless monitoring because each one may produce potentially interesting information.
Sometimes a sensor array is necessary. A product may genuinely need several measurements in order to understand a complex event or operating condition.
However, every added sensor introduces additional work:
- More wiring
- More mounting features
- More calibration
- More software
- More stored data
- More analysis
- More power consumption
- More failure points
- More difficult troubleshooting
- More uncertainty about which measurement actually matters
A sensor array should be built around a test objective, not around the desire to collect every possible signal.
For an MVP, one well-selected and well-integrated measurement may be more valuable than ten signals that are not clearly connected to a product decision.
A useful rule is to require a reason for each sensor:
- What question does this sensor answer?
- What action will we take based on its result?
- What happens to the project if we remove it?
- Is the measurement needed in this phase, or could it be added later?
This keeps the prototype achievable and makes success easier to define.
Sampling Rate, Data Logging, and Interpreting the Result
Choosing the correct sensor is only part of the problem. The development team also needs to determine how its information will be collected.
A temperature sensor monitoring a slowly changing environment may require only occasional readings. A vibration sensor, microphone, motion sensor, force-impact measurement, or fast mechanical event may require far more frequent data collection.
Important questions include:
- How quickly does the measured event occur?
- How often must the sensor be sampled?
- Does the data require timestamps?
- Does the device need to record continuously or only when triggered?
- Will the information be stored locally or transmitted elsewhere?
- Will the raw measurements be saved, or only calculated results?
- How will the team review the data?
- What result constitutes success?
These questions directly affect board selection, memory requirements, communications needs, battery life, software effort, and the usefulness of the final test results.
A prototype may need only an indicator light showing that an event occurred. Another may need a complete time-based record of pressure, orientation, temperature, or vibration during operation.
Both are legitimate prototype outcomes, provided the measurement strategy matches the development objective.
Sensors in Connected and Industrial Prototypes
Some products require sensors that communicate through more robust methods than short internal wires connected directly to a board.
For example, an industrial monitoring device may use a sensor mounted several feet away, connected through a durable cable and industrial protocol. A mobile or field device may use a wireless sensor node. A remote asset-monitoring system may need cellular communication. A vehicle or robotic system may interact through CAN bus. A factory-connected device may need Ethernet, serial communication, RS-485, or Modbus.
These choices affect more than communications convenience. They also affect:
- Noise resistance
- Cable length
- Connector selection
- Installation effort
- Field serviceability
- Security
- Power delivery
- Data reliability
- Integration with existing equipment
- Long-term commercial support
For a prototype intended to operate in an industrial or field environment, it may be more valuable to test a realistic sensor interface early than to demonstrate a clean result using short benchtop wiring that cannot survive the intended application.
Sensor Failure and Data Integrity
A prototype that relies on sensors should also consider what happens when those sensors fail or provide invalid information.
Possible problems include:
- A sensor becoming disconnected
- A cable becoming damaged
- A measurement drifting over time
- A wireless sensor losing connection
- Environmental exposure affecting the reading
- A sensor saturating outside its intended range
- A loose mounting feature producing inconsistent results
- Data being lost during power failure or communication loss
For some early prototypes, these issues can simply be noted and managed during testing. For others, especially systems controlling equipment or supporting significant decisions, the prototype may need to detect failures and behave appropriately.
The development team should ask:
- Can the system identify an impossible or out-of-range measurement?
- Can it distinguish no signal from a valid zero reading?
- Does it need to store data locally if communication fails?
- Should the product warn the user when a sensor is unavailable?
- Would a failed sensor cause the device to behave unsafely?
This does not mean every feasibility prototype needs a production-grade fault-detection system. It means that sensing should be approached as a functional requirement rather than as an accessory.
Prototype Sensor Modules Versus Production Sensor Integration
Just as a development board may not become the final commercial circuit board, a convenient sensor module may not become the final sensor architecture of the product.
During early development, a project may reasonably use:
- Readily available breakout boards
- Plug-in sensor modules
- Prewired sensor assemblies
- Oversized connectors
- External sensor housings
- Temporary mounting brackets
- 3D-printed fixtures and enclosures
- Easily replaceable test components
These choices make it easier to test, revise, replace, and learn.
As the product matures, sensor integration may move toward:
- Smaller production-grade components
- Custom circuit-board integration
- Defined mounting geometry
- Durable connectors
- Environmental sealing
- Calibration procedures
- Replaceable service components
- Controlled suppliers
- Better assembly repeatability
- Documentation appropriate to the intended market
The early prototype should provide information that makes this later integration easier. It should reveal which measurements matter, which sensors are practical, which mounting methods work, which interfaces are reliable, and which features are unnecessary.
Keep Sensor Development Achievable Through Phases
Sensor integration benefits from the same phased approach used for the broader prototype.
Phase 1: Prove That the Measurement Is Relevant
Select the minimum sensor arrangement needed to show that the desired condition can be detected or measured.
The objective is to determine whether the sensing concept has value.
Phase 2: Improve Repeatability and Data Collection
Refine sensor mounting, establish basic test procedures, add timestamps or data logging, and determine whether the results are repeatable enough to compare designs or operating conditions.
The objective is to move from “the sensor responds” to “the measurement helps us make a decision.”
Phase 3: Test Realistic Packaging and Deployment
Integrate the sensor into a more representative enclosure, device, fixture, or operating environment. Evaluate wiring, connectors, remote mounting, movement, moisture, vibration, power requirements, communication reliability, and user interaction where applicable.
The objective is to determine whether the sensor system remains useful outside the original benchtop setup.
Phase 4: Plan Production-Oriented Sensor Integration
Once the required measurements have been validated, evaluate production sensors, component availability, custom electronics, final mounting, calibration, environmental protection, assembly methods, serviceability, and any applicable compliance or documentation requirements.
The objective is to turn a useful measurement concept into a repeatable product architecture.
A Good Sensor Strategy Creates Better Prototype Decisions
Sensors can make a prototype far more valuable, but only when they are selected and integrated carefully.
The most important questions are not:
- How many sensors can we add?
- Which sensor has the most impressive specifications?
- Which module is easiest to purchase?
The more useful questions are:
- What must the prototype measure?
- What development decision will that measurement support?
- Does the project need event detection or quantitative data?
- How accurate and repeatable must the result be?
- How will the sensor connect to the selected development board?
- Where will the sensor be mounted?
- Will it operate inside the product, remotely, outdoors, on equipment, or around users?
- How will the resulting data be collected and interpreted?
- What happens if the sensor fails or the data is lost?
- What sensor architecture can reasonably move toward a finished product?
A well-chosen sensor package can turn a prototype from a physical demonstration into an evidence-producing development tool.
That evidence may show that a concept is viable. It may reveal that a mechanical design needs revision. It may identify which product features deserve further investment. It may help a research team collect meaningful data. It may show that a connected industrial device can monitor the condition that matters.
The objective is not merely to attach sensors to a prototype. The objective is to measure what matters well enough to make the next decision with confidence.
JaegerTech Can Help Develop Sensor-Enabled Hardware Prototypes
At Jaeger Technology Group, we help customers move hardware concepts toward functional, testable prototypes.
That work may include:
- Defining practical prototype measurement objectives
- Selecting development boards and sensor packages
- Integrating motion, force, touch, pressure, environmental, or other sensing capabilities
- Designing and 3D printing housings, brackets, fixtures, and sensor mounting features
- Developing data-collection and evaluation systems
- Packaging electronics for realistic prototype testing
- Planning the transition from temporary prototype modules toward more integrated product electronics
Whether a project requires a simple sensor-enabled proof of concept, an industrial monitoring prototype, a research data-collection device, or a more advanced connected system, the goal is the same:
Measure the right behavior, collect useful information, and make the next development decision with greater confidence.
About the Author: jaegertechgroup.com
STAY IN THE LOOP
Subscribe to our free newsletter.
Leave A Comment
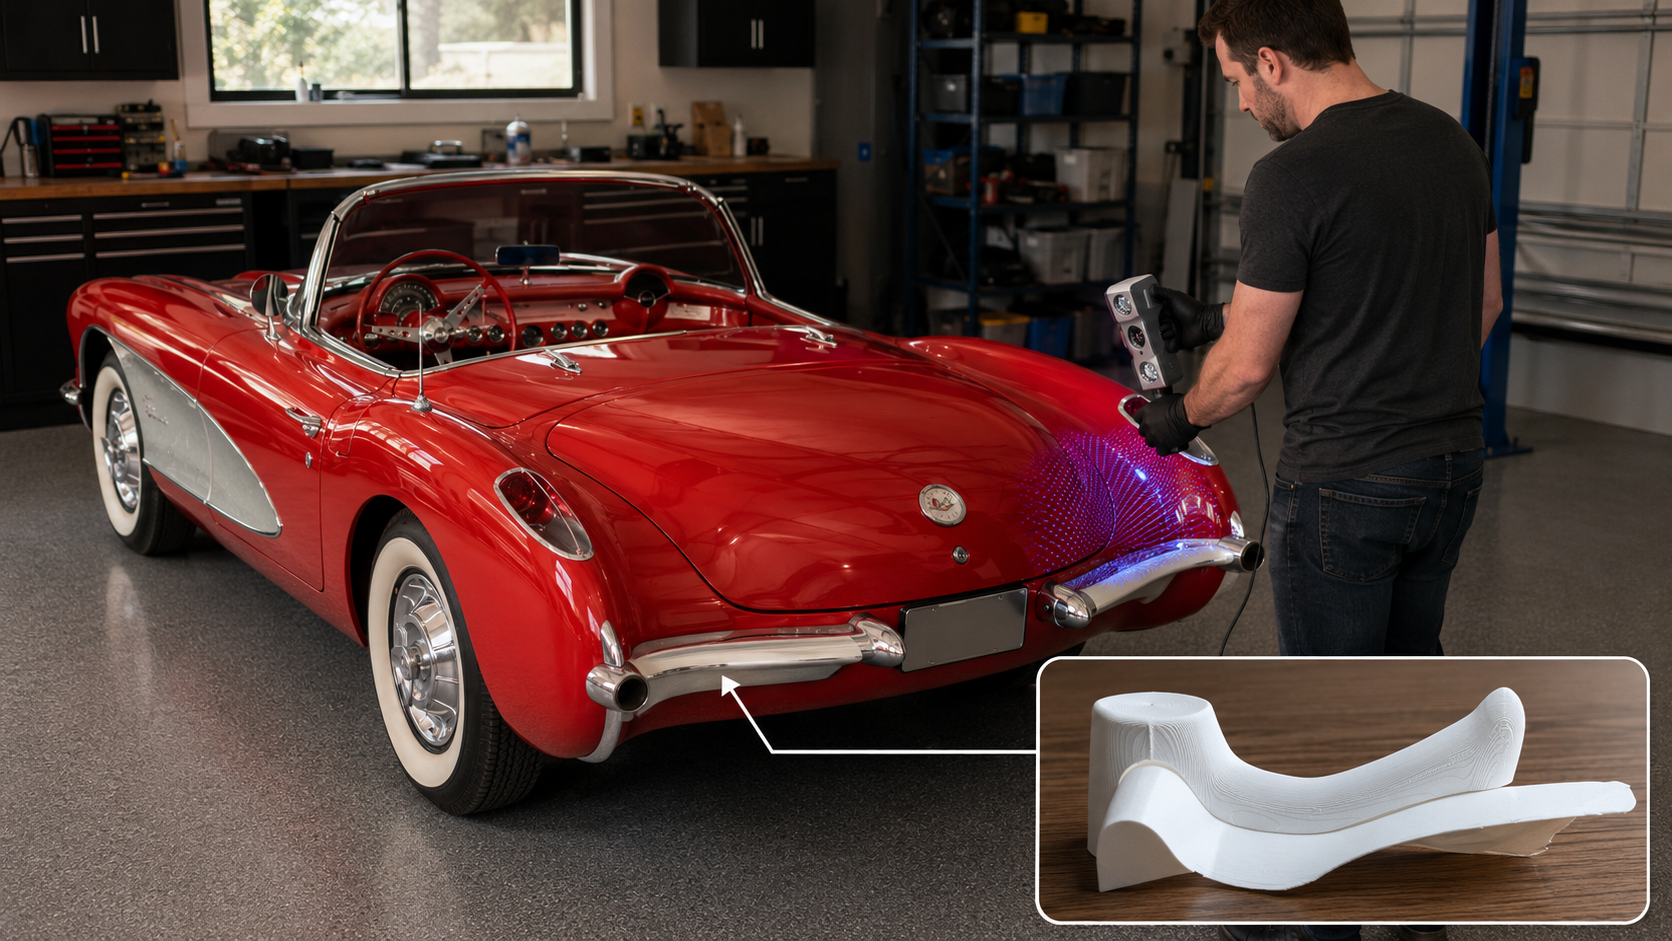
Best $150 I’ve Ever Spent on This Car Classic car projects have a way of turning simple problems into complicated ones. A

Why Domestic Tooling and Prototype Fabrication Still Matter Low-cost overseas tooling can be tempting. When a quote comes in dramatically cheaper than
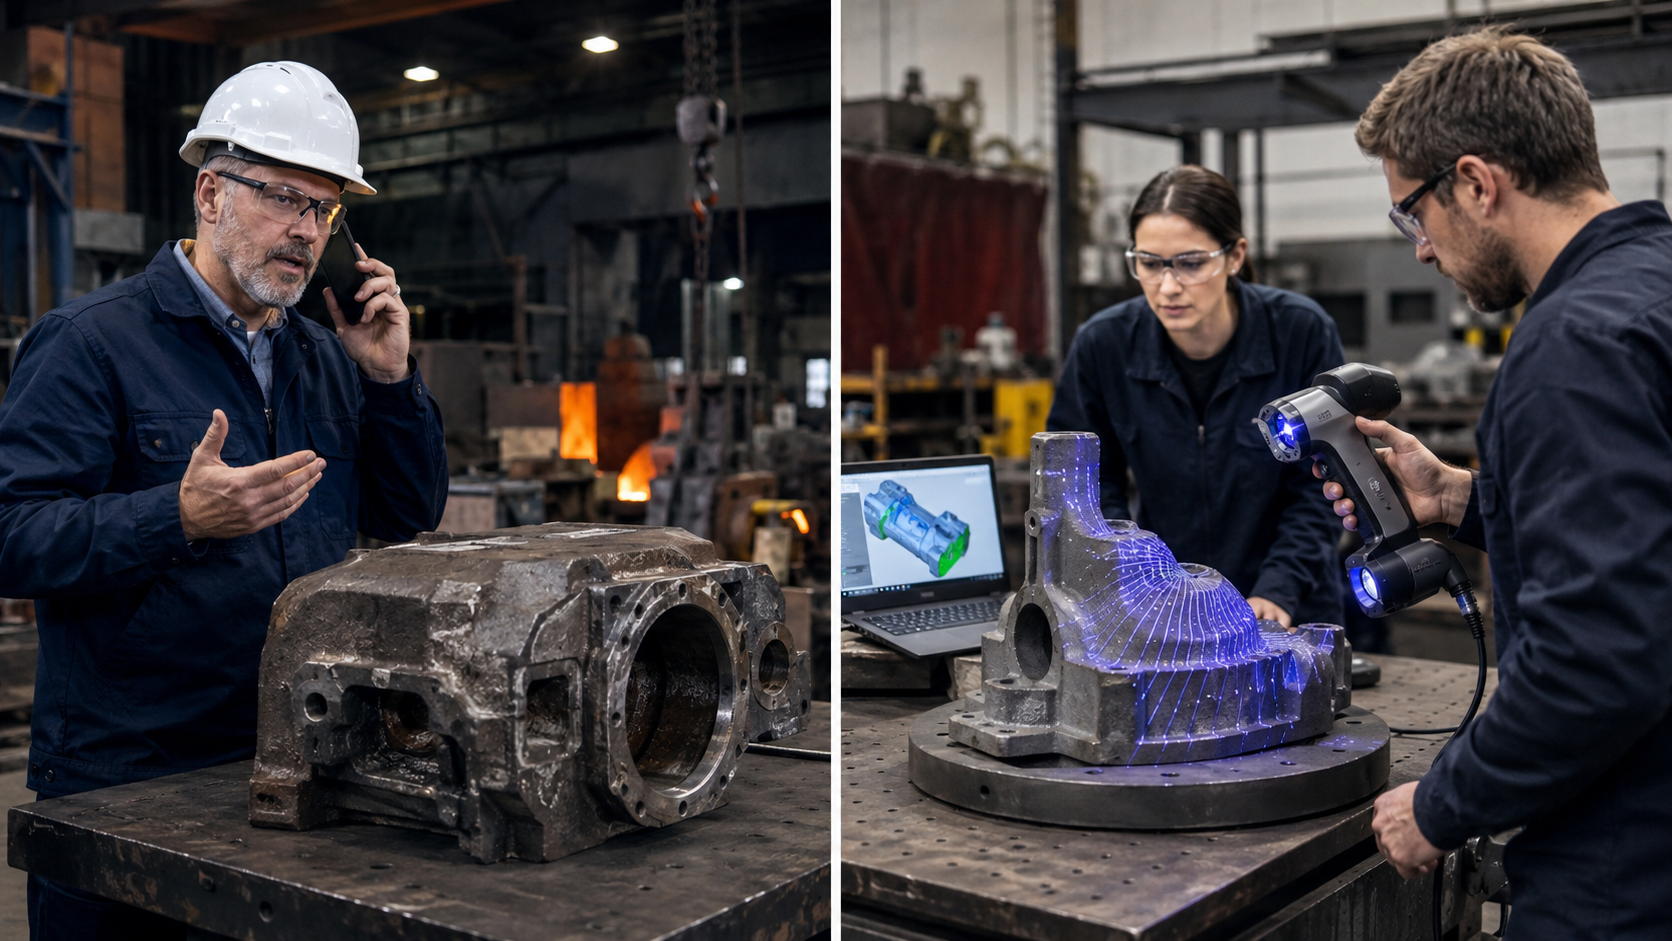
When the Pattern Is Gone: 3D Scanning a 55-Year-Old Casting for Foundry and Machine Shop Review A foundry partner recently called us
Four Hours From Problem to Part Emergency 3D Printing for Manufacturing Downtime When a production line is down, the clock starts immediately.