

3D Printed Jigs for Faster Decal, Badge, and Logo Placement on Automotive Assembly Lines
Automotive assembly work is full of small details that have to look right every time.
A badge that is slightly crooked.
A decal that sits too low.
A nameplate that is shifted to one side.
A trim emblem that follows the wrong body line.
None of those mistakes may stop the vehicle from functioning, but they can absolutely stop it from passing inspection. They can create rework, slow down the line, waste adhesive-backed parts, and make an otherwise good assembly look careless.
That is why decal, badge, and logo placement should not depend entirely on an operator’s eye.
It should depend on a fixture.
The Problem with “Line It Up by Hand”
On an automotive production floor, operators are often asked to place decals, emblems, warning labels, nameplates, trim badges, and decorative inserts by hand. Sometimes there is a paper template. Sometimes there is a measurement off an edge. Sometimes there is a visual reference. Sometimes the operator just “knows where it goes.”
That may work for a while, especially with an experienced operator.
But it introduces variation.
The operator has to:
- Hold the part in the correct location
- Align it with a body line or molded feature
- Keep the decal or badge level
- Avoid touching the adhesive
- Apply even pressure
- Work quickly enough to keep up with the line
- Repeat the process dozens or hundreds of times per shift
Eventually, something moves.
The decal goes on crooked.
The badge lands too far left.
The adhesive touches early.
The trim piece has to be removed and replaced.
The panel may need cleaning, refinishing, or rework.
That is not an operator problem.
That is a tooling problem.
A Simple Fixture Can Make Placement Repeatable
A 3D printed placement jig can turn a judgment-based operation into a repeatable process.
Instead of asking the operator to visually align the badge or decal, the fixture locates against known features on the vehicle or component. It may reference a body panel edge, trim opening, mounting hole, molded contour, radius, lip, recess, or other repeatable geometry.
Once the jig is seated, the operator simply places the decal or emblem into the fixture opening.
The tool controls the location.
The operator applies the part.
That is the way it should be.
Where These Jigs Are Useful
3D printed placement fixtures can be used for many automotive and transportation assembly tasks, including:
- Exterior emblems
- Interior trim badges
- Decals and graphic overlays
- Model identification badges
- Warning labels
- VIN-related label placement aids
- Foam tape placement
- Adhesive-backed trim pieces
- Nameplates
- Alignment of appliqués and decorative inserts
- Boat, RV, powersports, and specialty vehicle trim placement
These tools are especially useful when the part is not expensive by itself, but incorrect placement creates a costly rework problem.
A $10 badge can create a $300 problem.
A $5 decal can delay a shipment.
A misplaced trim part can force a panel to be cleaned, replaced, or refinished.
The cost is rarely just the part.
The cost is the interruption.
Why 3D Printing Works Well for Placement Fixtures
Traditional tooling can be expensive and slow to make, especially for low-volume or changing production environments. 3D printing is well suited for these applications because the fixtures are usually lightweight, ergonomic, and geometry-specific.
A 3D printed jig can be designed to:
- Match the contour of a body panel
- Fit around a trim feature
- Reference a known hole or edge
- Protect painted surfaces
- Include soft contact pads
- Prevent backward or upside-down placement
- Hold a decal at the correct angle
- Provide finger clearance
- Reduce operator fatigue
- Fit into a kitting or workstation system
The fixture does not need to be complicated.
It just needs to make the correct position obvious and repeatable.
Better Quality Without Slowing the Operator Down
Good production tooling should not make the job harder.
A properly designed placement jig helps the operator work faster because it removes hesitation. There is no need to stop and visually compare the part location. There is no need to measure every placement. There is no need to rely on memory or hand positioning.
The fixture answers the question:
“Where does this go?”
That means the operator can focus on applying the part cleanly and consistently.
For assembly lines, that matters. The best tools are not just accurate. They are fast, obvious, and easy to use.
Poka-Yoke for Decal and Badge Placement
A good placement fixture can also function as a poka-yoke tool.
That means it can help prevent the wrong action from happening in the first place.
For example, a badge placement jig may only fit the panel one way. A decal mask may expose only the correct application area. A nest may prevent the emblem from being inserted upside down. A contour-matched tool may not sit flat if it is placed on the wrong side of the vehicle.
This is where simple 3D printed tooling becomes valuable.
It does not just help the operator do the job.
It helps prevent the wrong job from being done.
Materials Matter
For automotive assembly aids, material selection depends on the application.
A rigid fixture may be printed from PETG, ASA, ABS, nylon, carbon fiber-filled nylon, or another engineering-grade thermoplastic. For painted surfaces or delicate trim, the tool may include TPU contact surfaces, replaceable pads, felt, foam, rubber strips, or other protective interfaces.
The goal is to build a tool that is strong enough for production use while protecting the part being assembled.
In many cases, the fixture can be designed with:
- A rigid printed body
- Soft locating pads
- Replaceable wear surfaces
- Embedded magnets
- Threaded inserts
- Color coding
- Label pockets
- Operator grip features
That makes the tool more durable and easier to use on the floor.
Practical Tooling Beats “Just Be Careful”
When a placement error happens, the first response is often retraining.
Retraining has its place. Work instructions matter. Visual standards matter. Operator skill matters.
But “be more careful” is not a quality system.
If a badge, decal, or logo can be placed incorrectly, then sooner or later it probably will be. The better solution is to design a tool that makes correct placement easier than incorrect placement.
That is what practical production tooling does.
It reduces variation before the defect happens.
Work With Jaeger Technology Group LLC
Jaeger Technology Group LLC helps manufacturers design and produce 3D printed jigs, fixtures, placement tools, decal templates, badge alignment fixtures, inspection gauges, part nests, kitting trays, and production support tooling.
For automotive, marine, RV, powersports, and industrial assembly operations, 3D printed fixtures can help improve repeatability, reduce rework, and make operator tasks easier.
If your team is placing decals, badges, labels, logos, trim pieces, or adhesive-backed components by hand, Jaeger Technology Group LLC can help create a practical fixture that makes the process faster and more consistent.
Because the operator should not have to be the alignment tool.
About the Author: jaegertechgroup.com
STAY IN THE LOOP
Subscribe to our free newsletter.
Leave A Comment

Using Development Boards in Early Hardware Prototypes Other Parts of this series: Part 2 – Choosing The Right Development Board Part 3

3D Printed Patterns for Investment Casting: Material, Support, and Ceramic Shell Considerations Investment casting has always depended on the quality of the
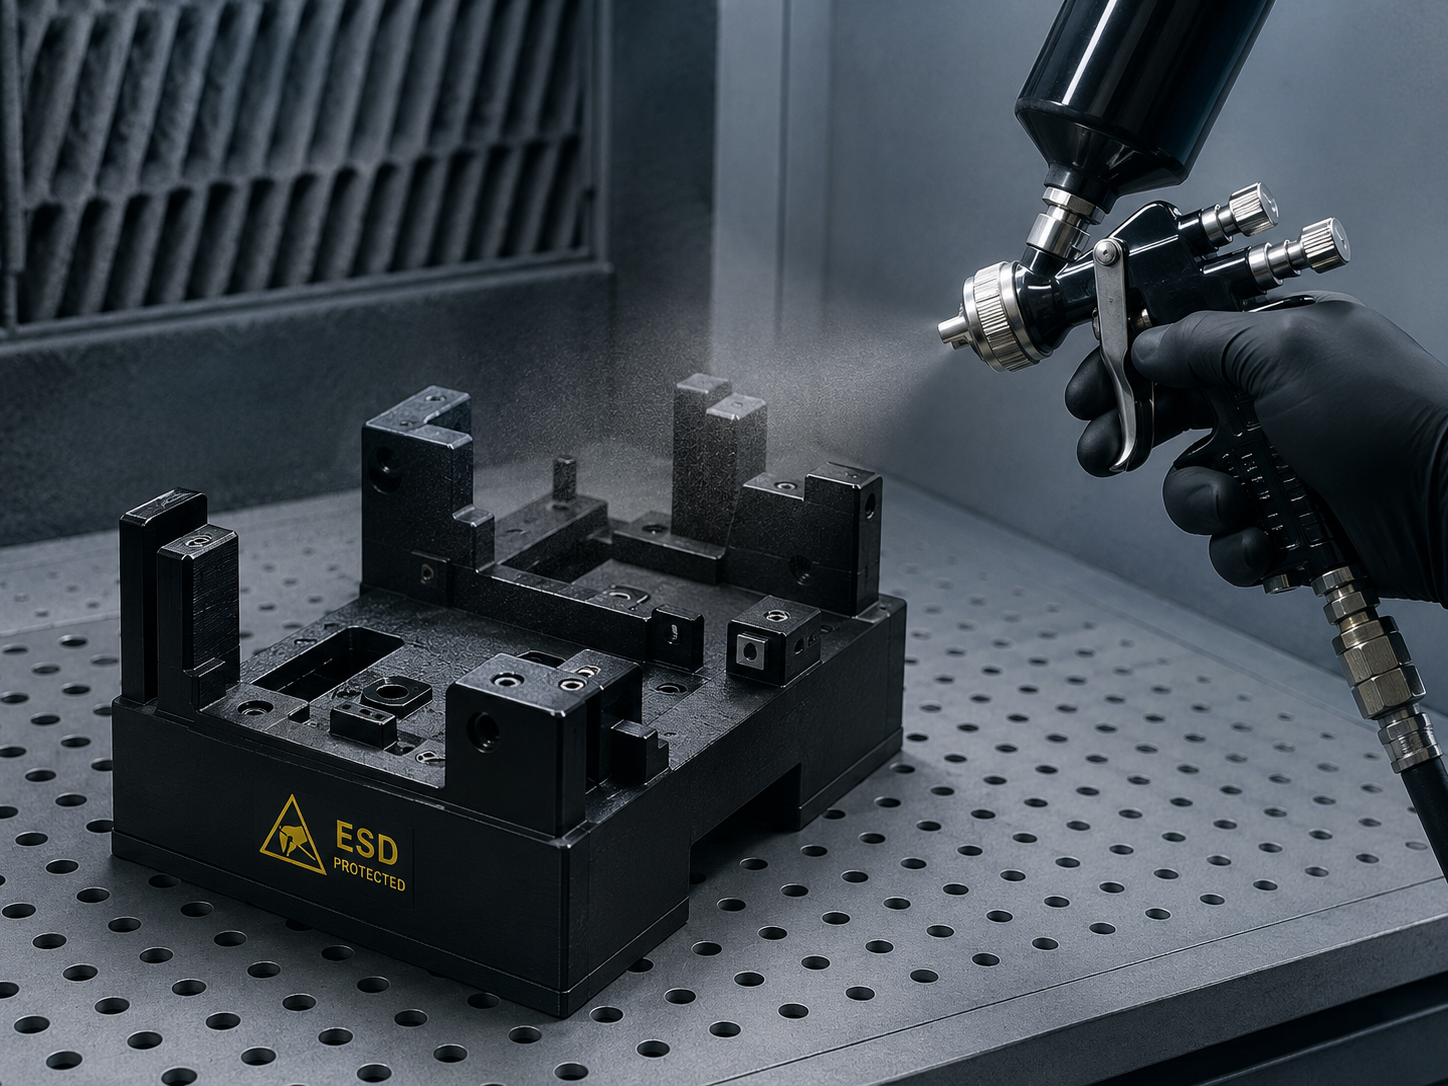
ESD-safe coatings can add static-dissipative behavior, helping reduce the risk of damage to printed parts used around electronics.
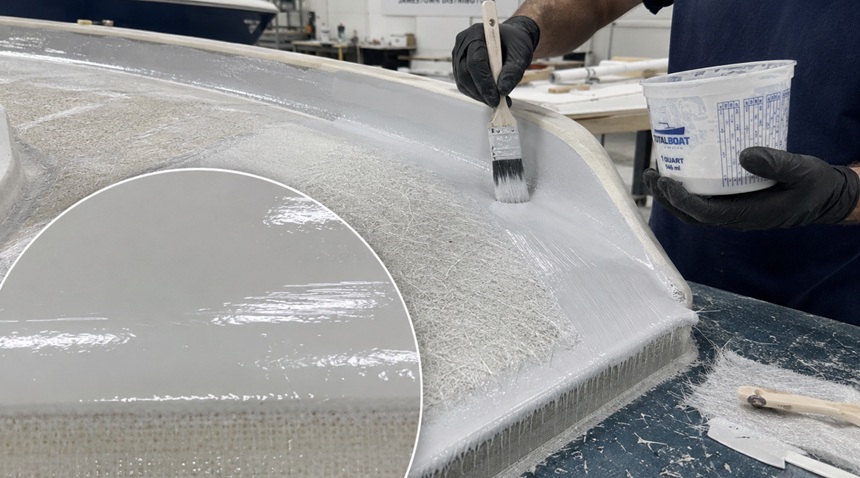
Gelcoat is common in composite and marine work. It can create a smooth, durable surface and is often used in mold-related workflows.